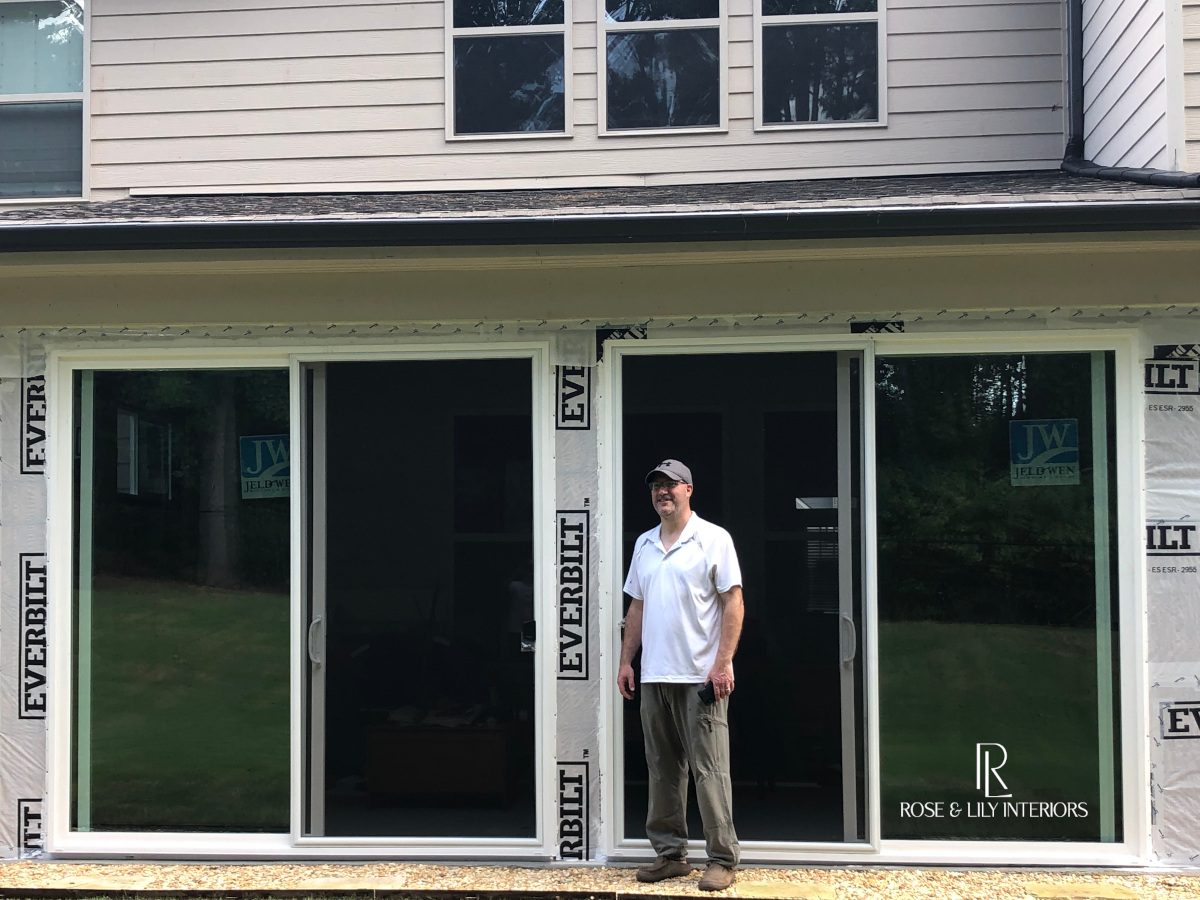
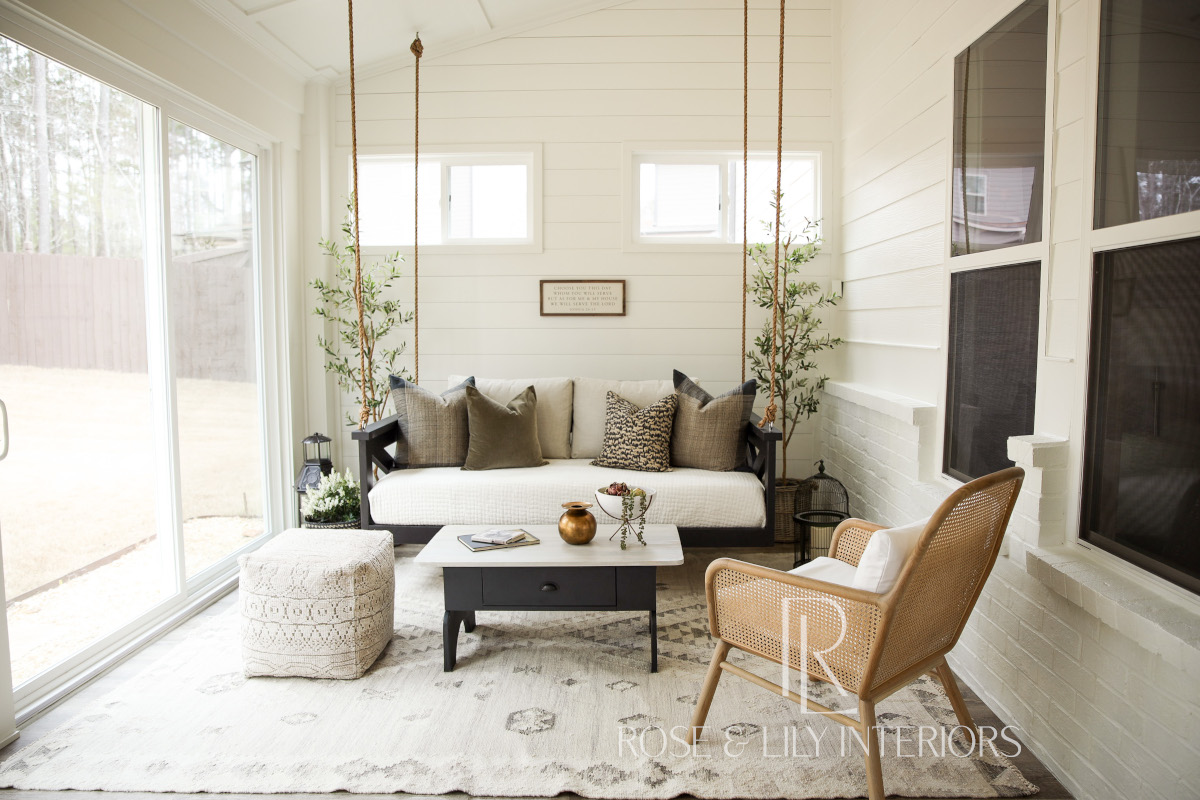
We reached a big milestone in week 4 of our DIY Sunroom project and that was to install the windows and doors! There has been a lot of work to get to this point, but it feels great to have an enclosed room finally. There’s plenty left to do, but from now on we have a sunroom!! If you’re just tuning in, be sure to read the previous posts for this project starting here.
Window and Door Arrival
Earlier this week, the windows and doors arrived. The windows were well packaged and protected. I performed a quick inspection to ensure there was no damage and that we received correct items. Everything looked great thankfully. Next came the doors. Wow, these thing are huge! The delivery guys really struggled to move these doors to the back of the house. Once we figured out how to remove the one sliding door from each frame, it was significantly lighter and easier to move.
Again, I performed an inspection of the doors and they were definitely the correct items. Unfortunately, there was some damage from shipping. These are vinyl doors which means they are great for resisting weather, but also means they are easily scratched. There were many scuff marks which cleaned off well with no further concern. However there were also a few deeper gouges that would not be able to be repaired. Both of the screen doors had several holes in them as well.
A quick call into the door manufacturer revealed our options. They were very helpful and willing to help us, but pretty much the only thing they could do was to make the doors and screens again. This would take weeks and put our project behind. We had a decision to make.
After some more inspection and research, we decided to move forward with the damaged doors. It turns out, the worst gouges were along the top exterior of the door frame. After thinking it through I realized that the drip edge flashing would cover up this portion of the frame. That left only one small gouge on one of exterior sides. I read that you can buff it out with some high grit sandpaper. I decided to give it a try and this did improve the gouge to the point where it was hardly noticeable. So we were ready to move forward with the project. I did request the door manufacturer to send replacement screens as this would not hold up the project.
Window Opening Preparation

We started with the windows because they are smaller and easier to work with. An important step that we needed to do to prepare the window openings for installation was to apply window flashing tape. This special tape is very thick and sticky, and provides a water proof layer under the windows. We applied it along the bottom of the window frame opening on top of the housewrap. We then extend the tape up the sides of the window frame opening about six inches. To get the tape to stick well and activate the adhesive, we ran over the entire surface of the tape with a wallpaper seam roller. The window openings were ready for the windows to go in!
Window Installation

The first step is to apply a bead of caulk behind the top and side flanges of the window. Do not do this for the bottom flange so that water will have a place to drain out. We then placed the window in the opening from the outside by resting the bottom of the window first and tilted in the window until flush with the opening. Be sure the top window flange is under the loose piece of housewrap.
While holding the window in place, we checked the window to make sure it was level on the top and plumb on the sides. On our first window, everything was perfectly level and plumb. My dad and I looked at each other in disbelief. Was it going to be that simple? I know we were careful to get our framing right, but we just didn’t expect to get it just right the first time. We double-checked for level and plumb, and sure enough it was all good. We quickly added some shims to the gaps to ensure the window stayed in position. Next we secured the window to the framing with #10 2 1/2″ exterior screws. We started with the corners and centers and gradually worked our way around the entire window. That was it, first window installed!
We repeated this process for the other two windows except this time we had to add some shims to get the windows to be level and plumb. Once we finished driving in all the screws, we were finished with the windows and ready to tackle the doors.
Door Opening Preparation
Similar to the windows, we needed to prepare the door opening bases before installing the doors. If we had used a framing board as the sill for our doors, we would have done the same preparation as with the windows using the flashing tape. Since our sills were made of concrete to account for the sloping floor, flashing tape was not the best solution here.
Instead, I used prefabricated sill pans. These pans slope down slightly to the exterior which directs any water that gets under the doors to the outside. The door manufacturer recommends these particular pans which are designed to be cut to size. Just like the flashing tape, they also extend up the sides several inches to protect the corners. They assemble quickly and use waterproof glue to seal all the seams. To install, we simply ran a couple of lines of exterior caulk to each of the concrete sills and laid these sill pans on top. Now we were finally ready to install the doors!
Door Installation
The first thing we had to do was to remove the bottom door flanges of the doors. These doors were manufactured to be able to sit on top of framing in which case the bottom flange would be necessary. To use on top of a slab or concrete sills like ours, they need to be removed before installation. I used my favorite tool in my arsenal, Dewalt’s Multi-Tool, to quickly take the flanges off.
Next, we needed to place the doors into the openings just like the windows. The difference is that these doors are very heavy and it takes several people to make it happen. We recruited Rose and our pre-teen daughter to help us out. We laid each door down in front of their respective openings. To make sure the doors would not get damaged while on the ground, we put some boards on the ground first. We applied caulk to top and side flanges and positioned the bottom of the door into the opening. Then we carefully raised the doors into place and underneath the top layer of housewrap.
The ladies held the doors in place while my dad and I checked for level and plumb. We had a lot of shimming to do on these to get everything right. The reason is that because these are vinyl doors, they are fairly flexible. Their weight can easily cause bowing and alignment issues. Once we had everything shimmed, level and plumb, we started driving in the screws around the edges. Then we set the sliding doors into place and tested their operation. We made some adjustments to the rollers on the bottoms of the doors to get them level and to slide easier. Lastly, we installed and adjusted the door hardware.
Drip Edge Flashing & Housewrap

Now before we could call these windows and doors installed and complete, we needed to take care of a few final tasks. First, we needed to install drip edge flashing on top of all the doors and windows. This L-shaped steel flashing rests on top of the exterior frame of the windows and doors with the top lip going under the housewrap. The top lip is nailed to the framing with small nails. The flashing then extends out and bends slightly down over the top of the windows and doors to direct water off and away from the windows and doors. We bent the ends of the flashing down at the edge of the windows and doors to create a cap. We then covered the flashing with some flashing tape we used in the window preparation to give a good watertight seal. Finally the housewrap was then lowered, cut to size and tape in place around the flashing.
Whew – we made it! There were a lot of things to remember to do to install these windows and doors, but this is where all that research I did earlier in the project paid off. I am confident in this installation and no water should be leaking in around these windows and doors. That was a big job, but we are so excited to finally have our windows and doors of our new sunroom installed. Next week we will begin working on the exterior trim!
#roseandlilyinteriors #faithfilledinteriors #diydesign #homedecor #diydecor #interiordesign #porch #diyproject #diyprojects #inspiration #roseandlilysunroom #homeinspo #houseinspo


