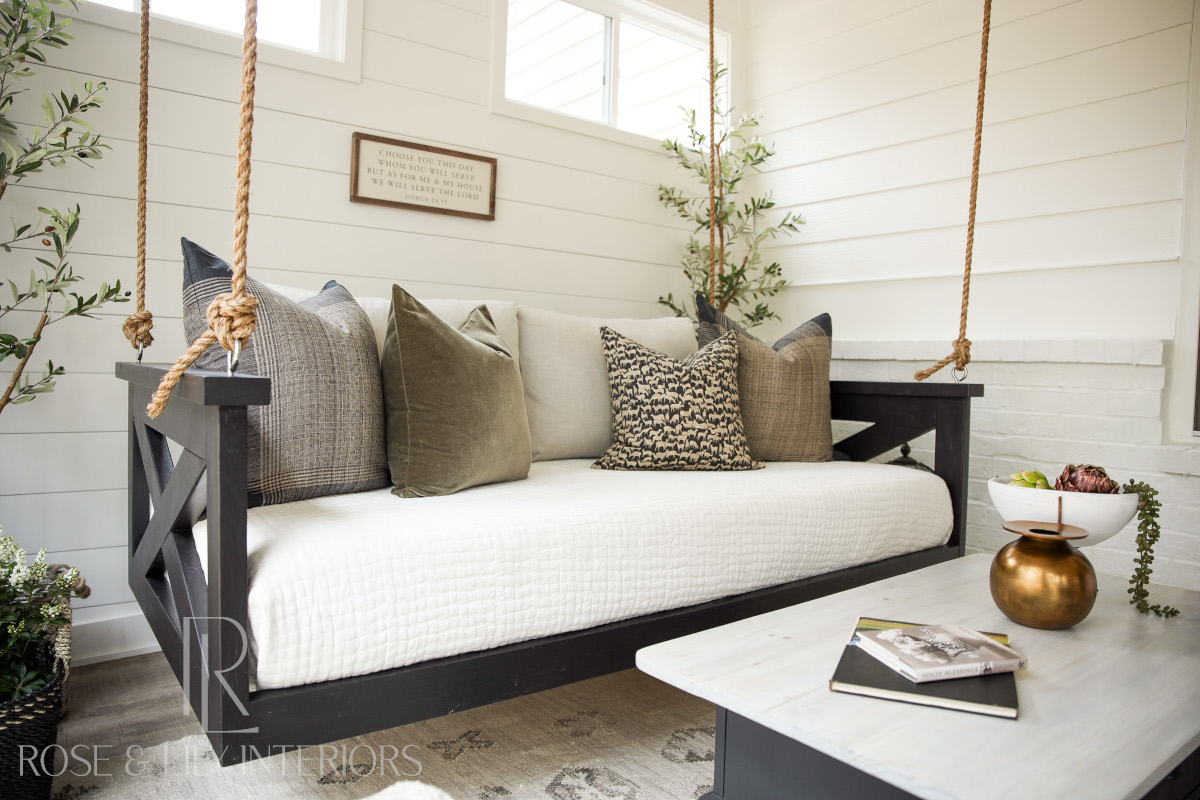
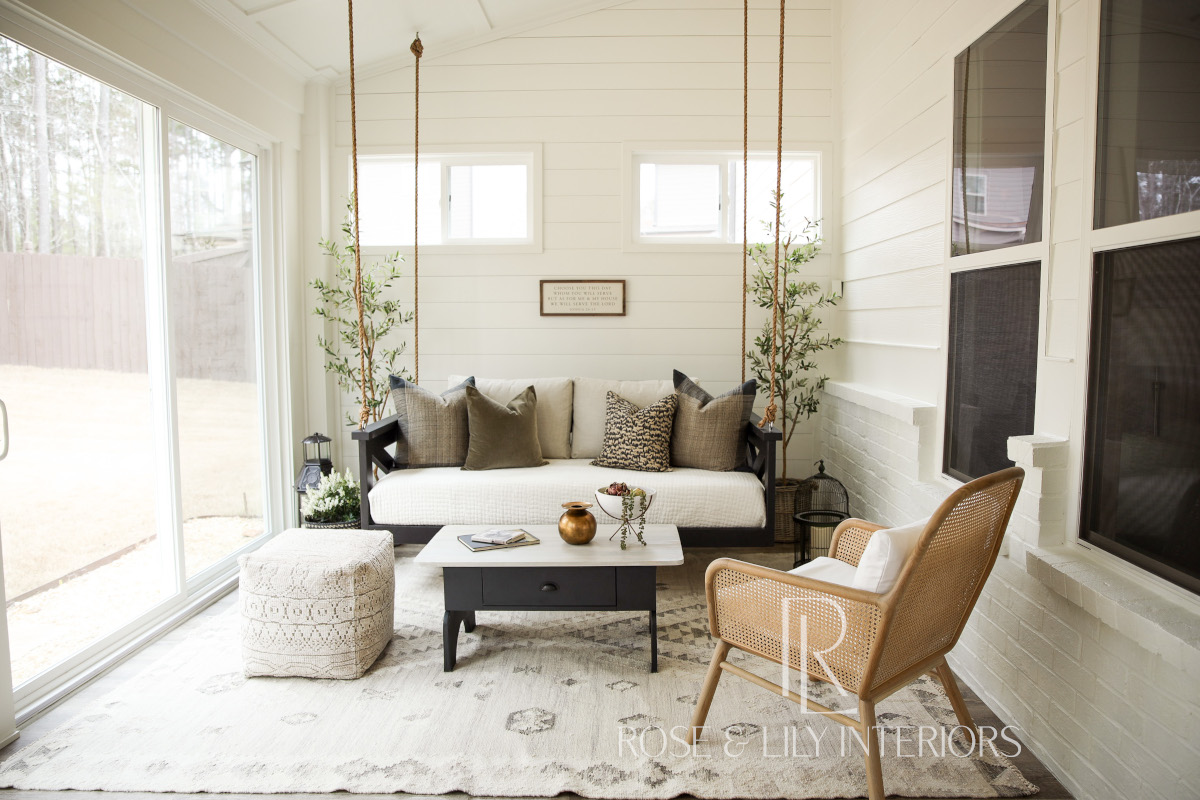
What would a DIY Sunroom be without a DIY Swing Bed!? A swing bed is one of those pieces that instantly brings a feeling of comfort and relaxation. We knew we wanted one in our new sunroom, but we realized pretty quickly we didn’t have money in the budget for it. So we looked for designs that we could build ourselves! This swing bed is simple, yet stylish. It is our family’s favorite spot in the room. If you’re just tuning in, be sure to read the previous posts for this project starting here.
This blog post is part 1 of 2 to show how I built this great swing bed. There are plenty of swing bed designs out there that are beyond my skill set, but when Rose showed me this one, I was pretty sure I could build it. She also wanted it painted black which meant I did not have to deal with matching stain colors with her vision. So I was pretty confident all around on this project. I quickly drew up a design and calculated the costs. The mission was go for launch!
Swing Bed Frame Construction
Like I mentioned before, this swing bed is pretty simple to construct. It is made from common 2″x4″ and 2″x2″ lumber and that also keeps the cost pretty low. This swing bed fits a twin mattress and its overall dimensions are 78″W x 41.5″D x 21.5″H. You could easily adjust these dimensions to fit a full size mattress or larger depending on your needs. We found the twin size is perfect for our sunroom and family. I calculated that I would need twelve 2″ x 4″ x 96″ pine boards and five 2″ x 2″ x 96″ pine boards for the project. You will want to find lumber that is decent quality, good looking and with square edges. I passed on some cheaper lumber that is usually reserved for wall studs, which are usually more warped, have more knots and defects and may have rounded edges. Be sure to select the straightest pieces you can find. For strength and stability, I chose to secure all the frame pieces together with two 1/4″ x 4″ lag screws on each joint and I calculated I would need a total of 40 of them.

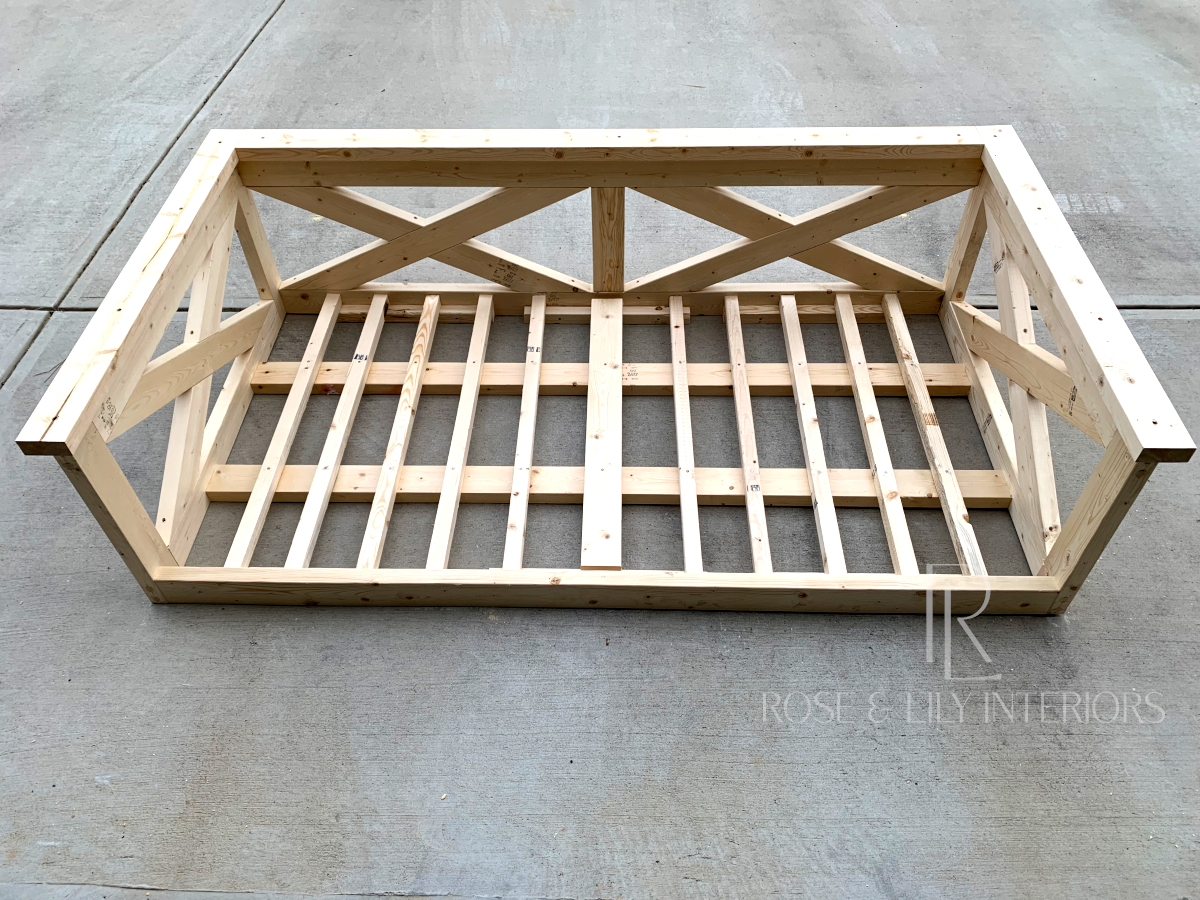
The first part of the construction is to build the basic frame. This will end up looking like a big box with one of the top long edges missing. First I made the sides of the frame by cutting four 20″ pieces and four 38.5″ pieces from the 2″ x 4″ lumber. For each side, I positioned two shorter 20″ pieces on the ends of two longer 38.5″ pieces to form two rectangle boxes.
For the two end rectangle boxes, I marked two screw holes on the horizontal edges of the shorter 20″ pieces where they intersect with the vertical edges of the longer 38.5″ pieces. There were a total of 8 marks on each box for a grand total of 16. I made sure they were distributed so that there was plenty of space between the edges of the boards and other screws. I then drilled pilot holes on the marks through the shorter boards into the longer boards using a long 1/8″ drill bit. The bit needs to be at least 8″ long so that it will go through the tall edge of the short board (3.5″) and into the long board about 2″ plus allowing for the bit to be seated in the drill.

Next, I drilled into the same holes using a 5/8″ spade drill bit to allow space for the lag bolt heads to be secured with a hex drill attachment and for the screw hole to be filled in with a dowel cap later. I put some tape on the shaft of the spade bit about 2″ from the tip as a guide for how deep to drill the hole. Then I carefully drilled into the holes using the spade bit. The spade bit catches the wood strongly and pulls itself down into the wood quickly. I used the reverse mode to take the drill bit out of the wood when I reached the right depth. At this point there were 16 total holes drilled and ready for assembly. To complete the end boxes, I secured the lag screws into each hole using a 3/8″ hex driver attachment.

The next step was to finish the rest of the frame by attaching wood pieces between three of the corners of the two end boxes. I cut three 75″ pieces of the 2″ x 4″ lumber. Then I laid each of the end boxes on their long sides about 75″ apart. Next, I placed two of the 75″ pieces on their short edges between the two end boxes. Then I drilled pilot holes, followed by spade holes and secured the pieces together with lag screws using the same procedure as before. The difference was that I needed to make sure the screw holes were offset from the existing screws on the end boxes so that these new screws don’t hit the others. Also, the spade drill holes were only 3/4″ deep since these screws are going into the short 1 1/2″ side of the wood. Once the two bottom pieces were attached, I then attached the third 75″ board between the two top rear corners using the same procedure. The frame is complete as pictured here.
Structural Support

The next part of the construction is to add the structural support pieces. First I cut two more 75″ pieces from the 2″ x 4″ lumber for the bottom mattress support. These pieces are going to be supporting the people sitting on the swing bed so they need to be strong. I positioned the pieces flat and evenly distributed on the bottom of the frame. Then I drilled pilot holes, followed by spade holes and secured the pieces together with lag screws using the same procedure as before. There were 4 holes and lag screws on each side for a total of 8. Next I cut a 13″ piece from the 2″ x 4″ lumber for the rear backrest support. I positioned this piece vertically in the center of the rear frame and attached it with two 3/16″ (#10) x 6″ screws on each end. I did drill pilot holes for these, but did not need the spade bit holes or lag screws since this piece was not load bearing and the holes would not show.
Cross-Buck Decorative Pieces
The next step was to add the cross-buck pieces that form the decorative X-pattern on the walls of the swing bed. These pieces are not structural and are decorative elements only. There will be four X-patterns with two in the back and one on each side.

To create each cross-buck X-pattern section, I repeated the following process. First, I took an uncut piece of 2″ x 4″ lumber and laid it flat diagonally across the rectangle frame. I made sure the edges of the laid board met the corners of the frame with the outside edge of the board. Once in place, I traced the frame line onto the diagonal board with a pencil. The I cut the diagonal board to size by cutting along the trace lines. I placed the board in place inside the frame and attached it with a 5/16″ (#8) x 2 1/2″ wood screw on each end of the board into the framing.
Next I took another uncut piece of 2″ x 4″ lumber and laid it flat diagonally across the rectangle frame in the opposite direction of the first board. Again, I made sure the edges of the laid board met the corners of the frame with the outside edge of the board. I traced the frame line onto the diagonal board with a pencil. In addition, I traced the first diagonal board line onto the second diagonal board where they intersect. I then cut the second diagonal board to size in two pieces along the trace lines. I placed the boards into place within the frame and attached them with a 5/16″ (#8) x 2 1/2″ wood screw on each end of the board into the framing and first diagonal board.
Top Finishing Trim

The next step was to create the top finishing trim of the swing bed. These trim pieces will lay flat on top of the bed frame as a finishing touch and are not structural. I cut two 43.5″ pieces and one 73″ piece from the 2″ x 4″ lumber. I placed the two 43.5″ pieces on the top of the sides of the frame leaving a 1″ overhang on all sides. I then placed the 73″ on top of the rear back rest flush in between the two side trim pieces leaving a 1″ overhang in the front and back. I marked two drill holes on each of the side trim boards in the center of the width and close to each end of the length, but not over the vertical support pieces of the frame. I marked three drill holes on the rear trim board spaced equally on the length and in the center of the width. I then drilled pilot holes using a 1/8″ drill bit. Next I used a #8 countersink drill bit to allow the screw to sit just under the surface of the trim board. Then, I attached the trim boards using 5/16″ (#8) x 2 1/2″ screws.
Filling the Screw Holes

The next step is to fill all the screw holes. Since we made some rather large holes to install the lag screws, we wanted to fill those back in to give the swing bed a finished and clean look. We have seen some swing beds and other furniture with the holes and lag bolts showing, but it is a more casual look and Rose wanted something a little more upscale. Filling the holes was pretty simple. All you need is a 5/8″ dowel rod and some wood glue. It’s best to work on one side at a time since the glue will run all over the place otherwise. The general process is to add some wood glue to the hole (about halfway full) and then insert the dowel rod into the hole. Then I cut the dowel rod flush with the swing frame using my trusty multi-tool, and wipe off any excess glue. I repeated this for each lag screw hole on the frame.
For the screw holes made for non-lag screws, I simply filled them in with wood filler. I also filled in any gaps around the dowel filled lag screw holes using the wood filler. Typically I allow the wood filler to dry and sand it smooth, but since I am going to be sanding down the entire swing bed soon with a sander, I just waited for that.
Attaching Hanging Eye Screws
The next piece was to attach the eye screws that will be used to hang the swing bed from the ceiling. These need to be very strong and secure to hold the weight of the swing and the people sitting on it. The combination of the load capacity of the eye screws is one of the determining factors of how much overall load the swing bed can handle. I chose four 3/8″ x 4 7/8″ eye screws with a load capacity of 325 lbs. each which would hold 1300 lbs. Attaching them to the swing bed is pretty straightforward. I marked the swing bed on each of the corners ensuring the position of the eye screw is into the vertical framing while not interfering with the lag support screws in the frame. I then drilled pilot holes on the marks using a 1/8″ drill bit going into the frame swing bed about 3″. Next, I screwed in the eye screws by hand inserting a screw driver through the hole to give some extra leverage. I tightened down the eye screws until the threads were no longer showing. Now that I ensured the screw eyes are installed, I went ahead and removed them which will make sanding and painting the swing bed much easier.
Support Slats
The last step to constructing the swing bed is adding the support slats to the bottom for the mattress to rest on. First I cut ten 38.5″ pieces of the 2″ x 2″ lumber and one 38.5″ piece of the 2″ x 4″ lumber. I also used six spare pieces of 2″ x 2″ lumber that were already about 21″ long. I laid the six 21″ spare pieces to the bottom inside of the swing frame – three in the front and three in the back evenly spaced. I then attached them using common 2 1/2″ nails. Next I attached the 38.5″ piece of 2″ x 4″ lumber in the center using the same nails to the outer and inner supports. Then I placed the 10 2″ x 2″ pieces in place evenly spaced from left to right and then attached them to the outer and inner supports with nails.
That completes the construction of the swing bed. It is inexpensive and very sturdy, but still has a nice look. Next week, I’ll finish up the swing bed with sanding, painting and hanging!


DIY Sunroom: Swing Bed – Part 2 - Rose & Lily Interiors
April 3, 2021 @ 12:52 am
[…] blog post is part 2 of 2 to show how I built this great swing bed. For part 1, go here to see all the details for how I constructed the swing bed. This week, I’ll talk about how I […]