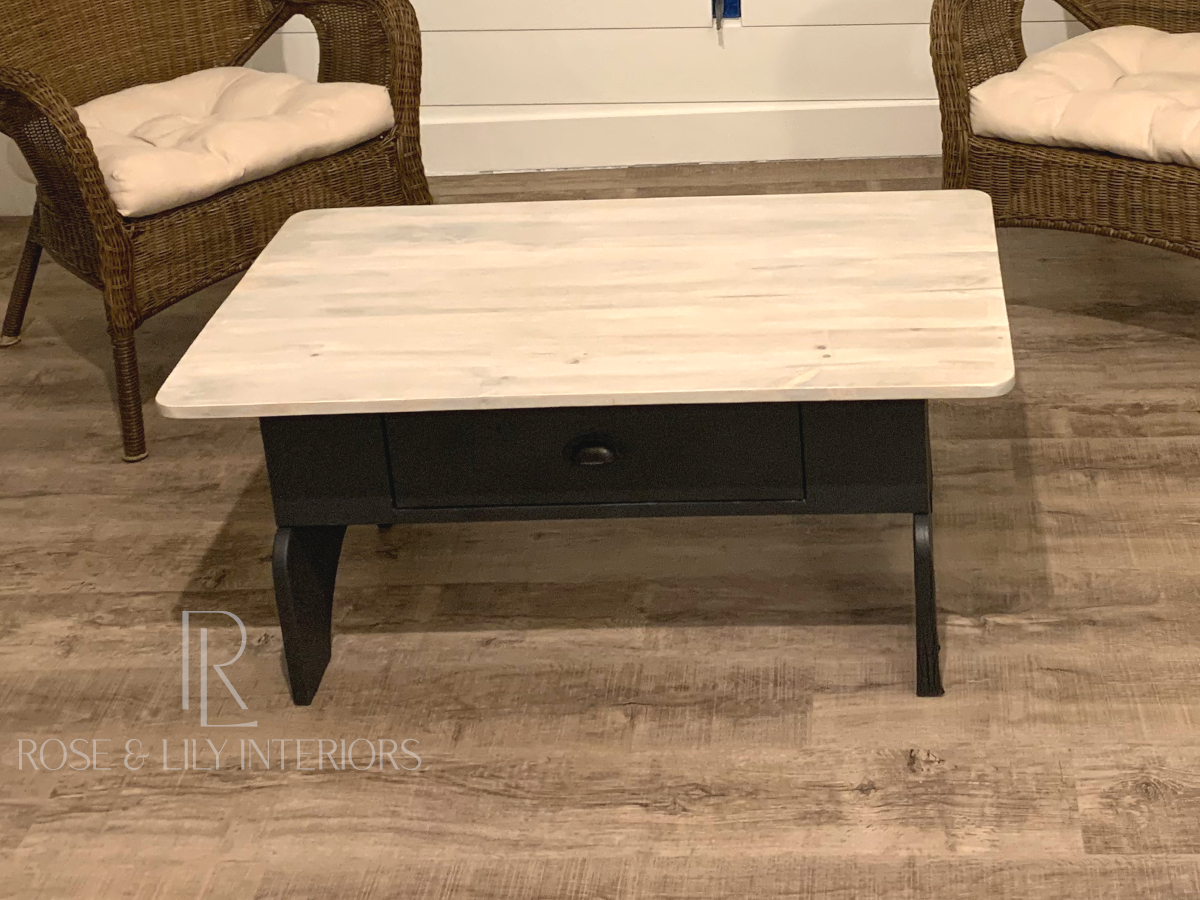
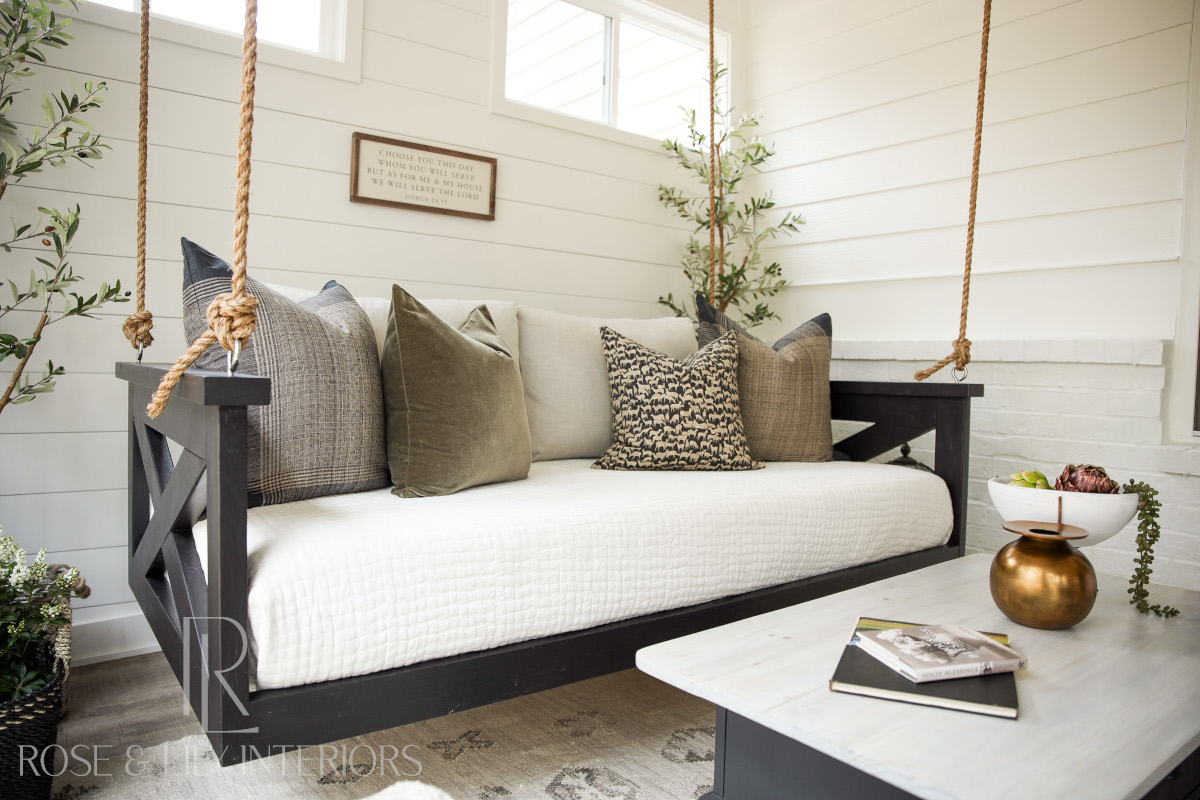
In week 12 of our Sunroom project, we show how we were able to repurpose an old dining table into the coffee table that will be used in the new Sunroom. Rose is busy decorating and putting the final finishes in the Sunroom, so we have some time to talk about this little project I snuck in a few weeks ago. The new coffee table came out great and is going to go perfectly in its new home. If you’re just tuning in, be sure to read the previous posts for this project starting here.
The Old Dining Table

Here is a picture of the dining table as it looked new. It was a nice table, but we made a style change and it became the table we used in our screened-in porch. Well, the Atlanta humidity and weather did not treat this table kindly. After a few years, the veneer top splintered badly and really looked horrible. We knew an indoor table should not be used outdoors, but at the time it was the best solution available. Just when we were thinking of getting rid of the table, we thought why not repurpose it as a coffee table for the new Sunroom! Since the base of the table was still in good condition, we decided to give it a try.
Creating the Coffee Table Base
The first step was to take off the top of the table. I had done this many times to move it over the years, and all it took was to remove the four screws keeping it secure. The top was beyond repair so I decided to use it as a work surface for my DIY projects.
The next step was to clean the base. It was quite dirty, but cleaned up nicely with some good old-fashioned elbow grease and household cleaner. After that, I cut off the tops of each side piece that rose up from the base to connect to the table top. This left me with a perfect base of a coffee table. I sprayed painted the base with black chalk spray paint. This paint is a cut above the typical spray paint, and it does not require removing the previous finish. It also has a nice matte finish which Rose really likes.
Creating the Coffee Table Top
Now it was time to work on the new top. I used a 24×48 pine board from Home Depot that was made up of smaller pine boards glued together lengthwise. The width of the board was just what I needed. So all I only had to cut the length down to about 40 inches. Rose wanted rounded edges for the coffee table, so I just took a small can of stain, lined it up to the edges of each corner and outlined the curve of the can onto the board. I then cut along the line with my multi-tool. Next, I sanded down the top using a sheet sander. This gave it a fine finish and smoothed out the rough cut edges and other imperfections.
Applying the Stain to the Table Top
We were ready to put on the stain which, for me, is the hardest part. Not that it is hard to do, but it is definitely hard to get right so that it meets Rose’s vision! I always do a sample of the stain for her to approve. So many times though it comes out different than the sample. That’s just how wood is and part of its beauty. Well this time continued the trend. I presented Rose with several samples and she chose the one she liked. Once I applied it to the new top, it just didn’t look right to Rose. It came out too dark and gray, so we had to come up with a solution.
I didn’t want to sand the board down to remove all the stain, so we we tried applying a layer of white wash. This is a mixture of equal parts primer paint and water an optional small amount of stain for color. I applied the white wash solution on top of the stain with a rag, let it sit for a few minutes, then wiped it off. This brightened up the stain significantly without covering up the wood grain. Finally we had success and Rose liked the new finish, whew!
Applying the Top Coat to the Table Top
The next step was to apply two coats of polycrylic in a clear flat finish. This is one of our favorite top coat finishes because it provides protection without the high gloss look of a typical polyurethane. I applied the first coat with a paint brush and let it dry. Then, I sanded it with 400 grit sandpaper and applied the second coat. I let that dry a day and it was ready to attach to the base. I attached to the base with four black angle brackets which connected the underside of the top with the sides of the base. The final result is a very nice looking coffee table ready for use in our new sunroom!
That completes all the construction and components for the Sunroom. The next blog will be the big reveal after Rose has completed doing her wonders in there! Be sure to check back to see how it comes out!
#roseandlilyinteriors #faithfilledinteriors #diydesign #homedecor #roseandlilysunroom #diydecor #interiordesign #porch #diyproject #diyprojects #inspiration #homeinspo #houseinspo #christian #indianchristian #forhisglory #jesus #bornagainchristian #faith #believe


DIY Sunroom: Final Reveal - Rose & Lily Interiors
March 20, 2021 @ 1:00 am
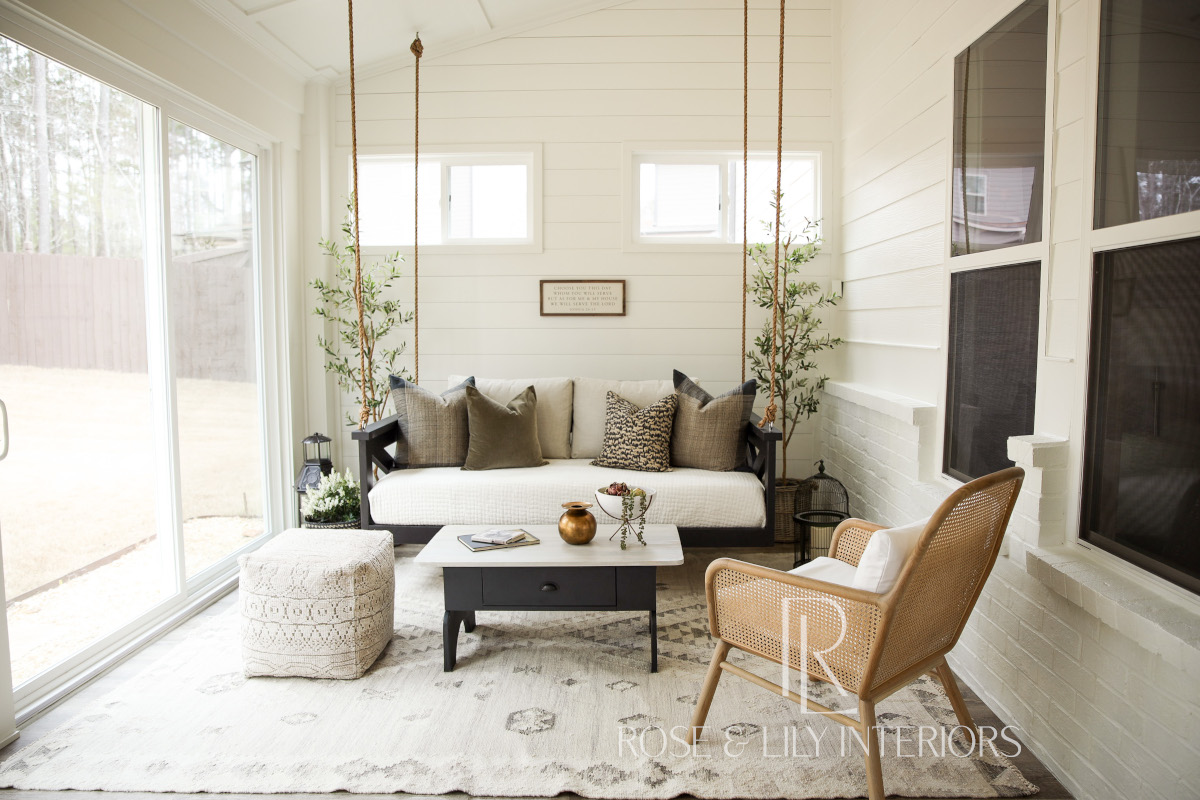
[…] to the swing bed, the sitting area has a comfortable rattan chair and a simple pouf around the coffee table I made. This is the perfect sitting area to visit with one another, lounge around, read a book, […]