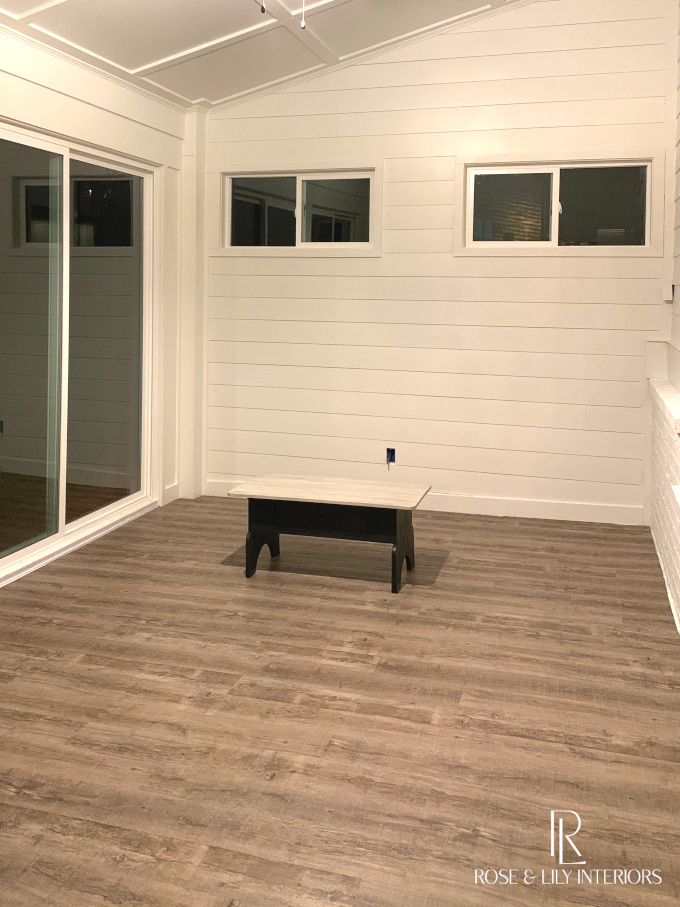
In week 11 of our Sunroom project, we installed the last major element of the room which was the floor and trim. Wow, what a difference! Covering that ugly gray concrete with a nice hardwood tone suddenly transformed this space into a comfortable feeling indoor area. We’re so close to the end now! If you’re just tuning in, be sure to read the previous posts for this project starting here.
Selecting the Flooring
Before we could install the floor, we had to decide what kind of flooring to install. We had already narrowed down the choices to some sort of hardwood looking surface. We decided we did not want to go the tile route due to cost. My dad had put Luxury Vinyl Planking (LVP) down in their lower level and highly recommended it. The more we researched LVP, the better it sounded. It had a realistic hardwood looking surface, many color choices, was relatively easy to install, was available in waterproof and water resistant varieties, and was economical. It met all of our needs so we dug deeper into the research. We finally come down to a few finalists available in stores.
So we headed over to our local Home Depot to take a look. We ended up choosing MSI’s Woodland Rustic Pecan. It was not our first choice, but they had this one in stock which was an important factor. Most of the bad reviews I had read about LVP was the damage that occurred during shipping. Home Depot had a new pallet of this stuff and it was on sale. This meant that all of the boxes would be from the same lot giving more consistency in the room. I also liked that this flooring was waterproof and had its own built-in underlayment. It was a different look than what Rose had originally envisioned and she will now have to rework her design. She’s a pro though, and I know she will figure it out.
Installing the Floor

Rose was so excited, she asked me to get started that same day! Here is how far I got after about 2 hours before calling it quits. It went a little slow in the beginning to get the hang of it. It uses an interlocking tongue and groove system to attach the planks together. Each tongue on the left and back of each plank has a raised lip at the edge that corresponds to a matching groove on the right and front of another plank. The raised lip prevents the planks from separating once they have been locked together. There were a few reviews indicating the planks separated after installation, but my after working with this flooring, I am certain the separation was due to the planks not being fully locked and connected.
The first row is the easiest. You lay the first plank into position. Next, you attach a second plank to the right on the short edge by tipping up the new plank at about a 45 degree angle and inserting the tongue into the groove of the plank already in position. Then you lower the second plank down to level. If it is correctly attached it will lay perfectly flat and there will be no gap between the planks. If not, you may need to insert it further into the groove and possibly even tap it into place.
Repeat this process until you reach the end of the row. Alternate planks from several boxes to spread out any inconsistencies. Cut the last piece to size by measuring the plank from the left, marking it with a pencil, scoring it with a razor and snapping off the excess on the right. Be careful to get the right length because you can’t reuse the cut plank in another position since there is no longer a groove to insert into. That completes the first row.
The second and subsequent rows are more tricky since you also have to insert the tongue into the groove along the long edge as well. Take the first plank of the second row and attach it on the long front edge aligning it to the left side of the first row by tipping it up at a 45 degree angle and inserting into the groove of the first row. Lower the new plank down to level. Again, it should lay perfectly level with no gap. Next, take the second plank of the row and attach it to the first plank of the row on the short edge just like you did in the first row. This time leave about a quarter inch gap between the first and second row on the long edge.
Now GENTLY tap the second plank on the long edge towards the first row . Use a board to protect the plank and use a hammer or mallet to tap board against the plank. These tongues are pretty fragile, so be careful. I found it useful to slightly tip up the new plank on the long edge while tapping. You will hear it click into place when it is in position. Again, it should lay perfectly flat with no gap on both the short and long edges. Repeat this process, cutting off the final piece to complete the row.
For me it was slow-going in the beginning until I got a good feel for the interlocking system. Repeat the process of the second row on each subsequent row until you get to the end of the room. You will also want to start each row with a different length board so that the seams between planks are staggered just like real hardwood floors. I went in 1 foot increments, so my first row started with a 1 foot board, second with a 2 foot board, third with a 3 foot, and fourth with a 4 foot. On the fifth row, I started over at 1 foot. Be sure to cut the first plank on each row to size on the right side of the board discarding the left side! This is so you have a groove left to insert next the plank into.
The last row is the trickiest because you don’t have much room to work with between the last full row and the wall. The manufacturer instructs you to calculate how much space you will have remaining for the last row to ensure you have more than 2 inches. I’m good at math, but I botched up this calculation so I had less than a 2 inch gap at the end. It still installed ok and looks fine though. I think it was because my end wall has an inset around the brick, and I calculated the wrong part of the wall. Be sure to read the manufacturer’s installation guide. I also watched their YouTube installation video which I found helpful.
Installing the Trim
I installed the trim where the floor met the walls as the finishing touch. Rose doesn’t like the look of shoe moulding, so I went with half inch square moulding which looks great and matches the style of the rest of the room. It was also pre-primed which helped this part of the job move very quickly. I cut the pieces to size and painted them the wall color. Then I nailed them in place with a brad nailer. Last, I caulked all the seams and the small nail holes, and touched it up with paint again.

We are loving the Sunroom with the new floor so far. Our kids love running around and screaming in there due to the open space and the echo. It was the first time they had ever been allowed in there and they enjoyed exploring the new space. This is our son enjoying the new space.
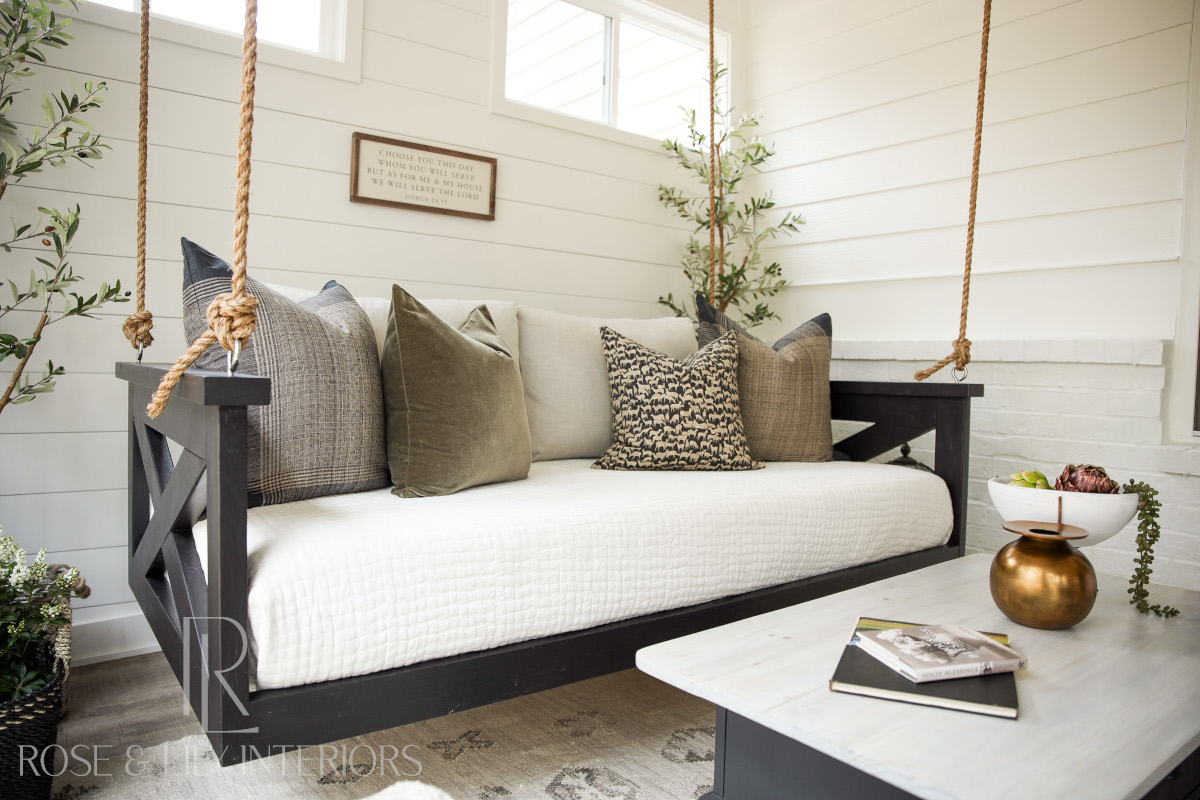
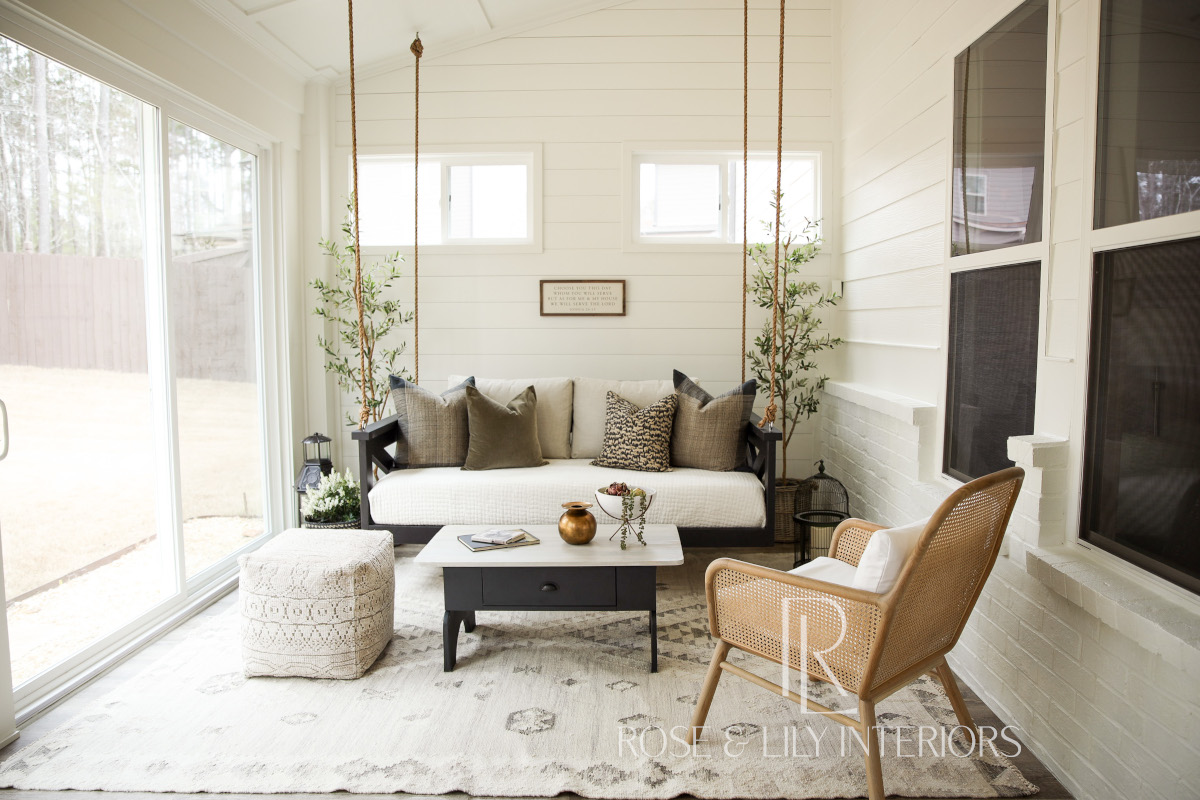
Now that we have all the major construction complete, it is time for Rose to do her thing. She will be adding furniture, décor and her personal touches to really make the place come alive. That will take a couple of weeks though. So next week, I’ll show you how I repurposed an old dining table into a great coffee table for our Sunroom. You may have already seen it in some of the pictures. Check back next week for the details!
#roseandlilyinteriors #faithfilledinteriors #diydesign #homedecor #roseandlilysunroom #diydecor #interiordesign #porch #diyproject #diyprojects #inspiration #homeinspo #houseinspo #christian #indianchristian #forhisglory #jesus #bornagainchristian #faith #believe


