We made it through week 2 of our DIY Sunroom project! This week was all about framing and while we did encounter some bumps in the road, it was ultimately a success. If you’re just tuning in, be sure to read the previous posts for this project starting here.
Problem Area One
There were two things that made framing tricky and slowed us down a bit. First, the floor slopes from one corner of the porch to the other. This was by design by the builder to ensure water drains away from the house. We knew about the slope going into the project, but it still took a lot of time to make sure we had everything right and the rough openings for the doors and windows were square and plumb.
The long wall where the two sliding doors will go is sloped almost an inch. Since the top of the openings are already level, the only option is to raise up the floor to make them square. We opted not to level the entire floor with concrete due to cost and time. We will have to come up with another solution later to ensure the doors are level. Anyway, it was a little tricky to adjust the framing to account for the slope, but we got through it.
Problem Area Two
The second problem area that we encountered was with the posts supporting the middle and right side of the porch. These posts were previously hiding behind the faux columns and they were badly warped. For example, one column bowed out a full inch in the center from the top and bottom. Not only were they warped, they were also twisted! You probably couldn’t choose posts in worse shape if you tried, but the builder figured it out. Replacing these foundational posts would have been a major ordeal. So again, we adjusted the framing measurements to account for the warped and twisted columns. We then added shims to fill the remaining gaps between the posts and framing. We knew that once we covered the framing, no one would ever notice the hidden posts.
Framing Center & Right

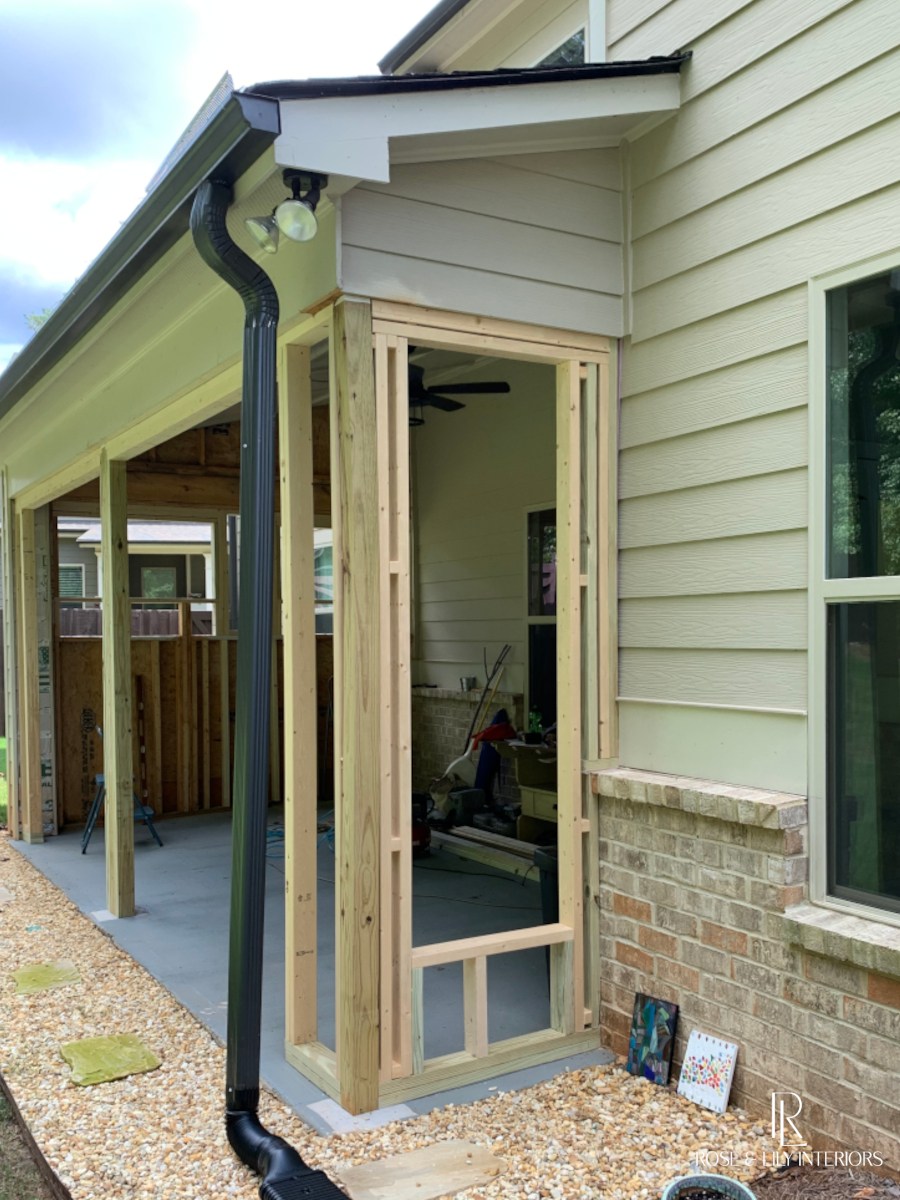
Here is my dad and I working hard on the framing. There were many measurements and re-measurements and lots of details to review in the construction plan. My new toy for this project (I always get one per project) was a pneumatic framing nail gun to help the framing go as quickly as possible.
On the center and narrow right side walls, we used pressure treated lumber for the framing along the concrete slab, brick and siding. For safe measure we also use it along the posts as well. Between the pressure treated lumber and slab we used sill plate gasket to ensure water doesn’t creep under the framing. To secure the framing to the concrete, we attempted to use one of those HammerShot tools. It is supposed to shoot fasteners through the framing board into the concrete just like a gun (literally). The concrete was too hard unfortunately so we couldn’t use that tool. I had some backup concrete screws on hand which ended up working just fine.
Between the pressure treated lumber and the brick and siding, we used thick foam weather-strip tape to fill in the gaps and make sure air and water don’t sneak in that way. To secure the framing to the brick, again we used the concrete screws. Once the outer framing pieces were attached to the existing structure, we just kept adding boards until the openings matched the rough openings of the windows and doors.
Framing Left

The left side wall was by far the easiest because the openings for the previous windows were already square and level. All we had to do there was ensure the openings match the new window rough openings and that there was proper support under the windows.
Another point of detail we had to pay close attention to was to ensure that all the windows and doors were at the same height. This is so that as you look around the room, the tops of the new windows and doors are all at the same level and is visually pleasing. This was a specific requirement from the designer, and I didn’t want to get fired!
While framing is not technically that difficult, it definitely is time consuming if you want to get it right. I am pleased with the way it turned out and confident the new windows and doors will fit nicely. This sunroom is coming together quickly! Next week, we will be adding the exterior sheathing and house wrap, plus building concrete sills for the doors to correct the sloping floor.
#roseandlilyinteriors #faithfilledinteriors #diydesign #homedecor #diydecor #interiordesign #porch #diyproject #diyprojects #inspiration #roseandlilysunroom #homeinspo #houseinspo


