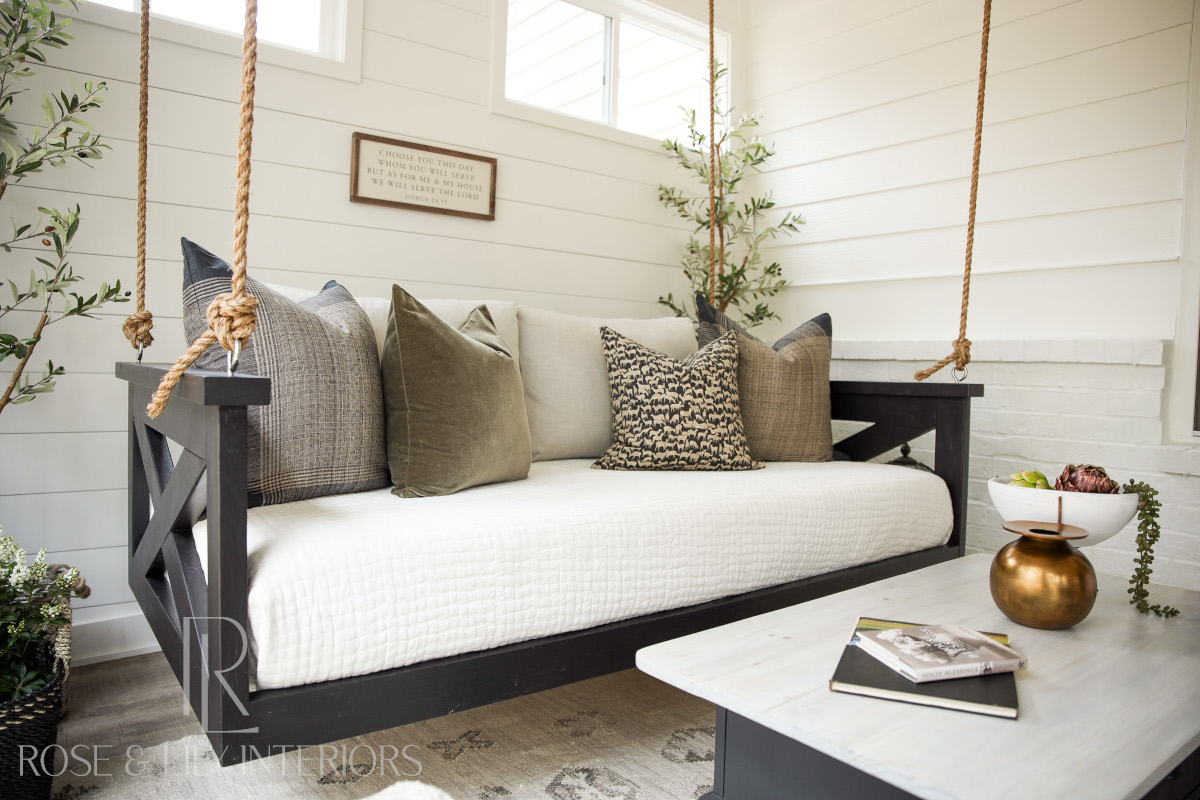
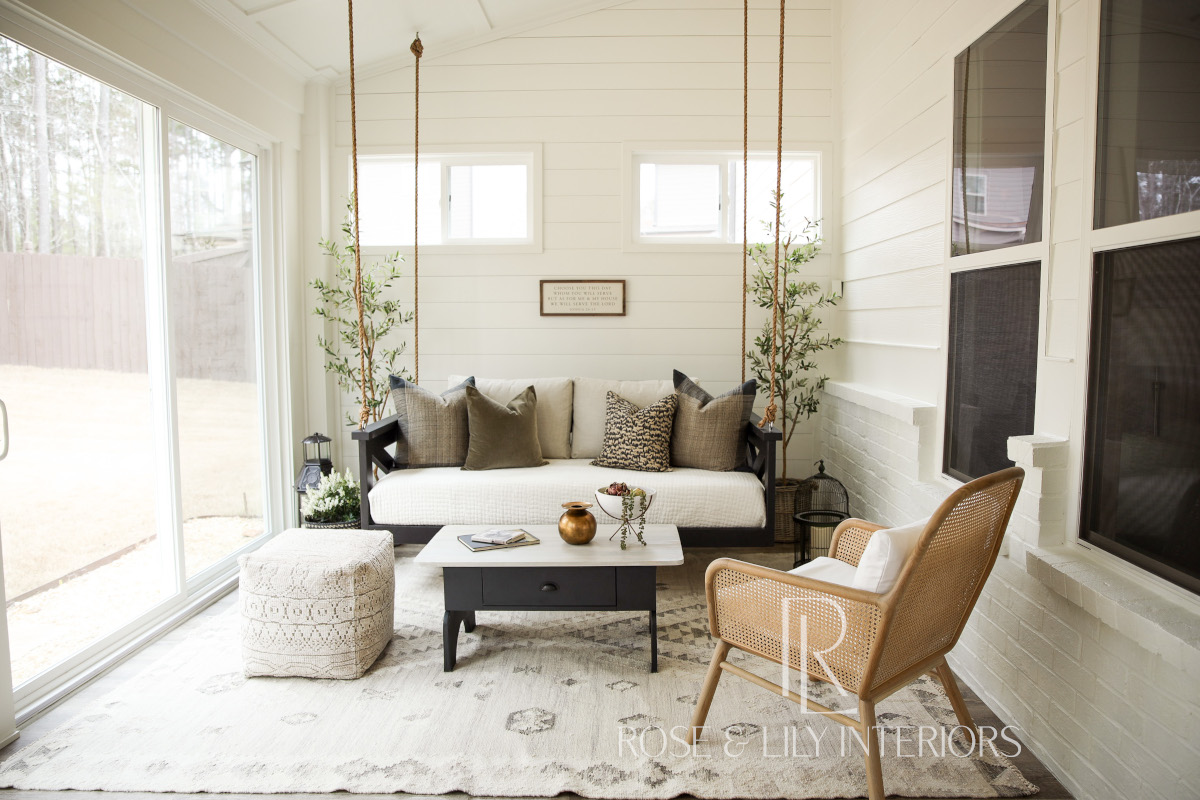
We are so glad we chose to build this swing bed! It has turned out to be a terrific focal point for the Sunroom. It is not only a great place to hang out as a family, but also a place to chill out and relax, read a book or even take a nap. Not only that, it is a bit fun too. Somehow it just takes you back to your childhood swinging on the swings in the park. If you have a sunroom or a porch, we highly recommend a swing bed. They truly are great for the whole family. These come in all sizes from crib size all the way up to king! We chose the twin size because it is big enough for our family without taking over the room. If you’re just tuning in, be sure to read the previous posts for this DIY Sunroom project starting here.
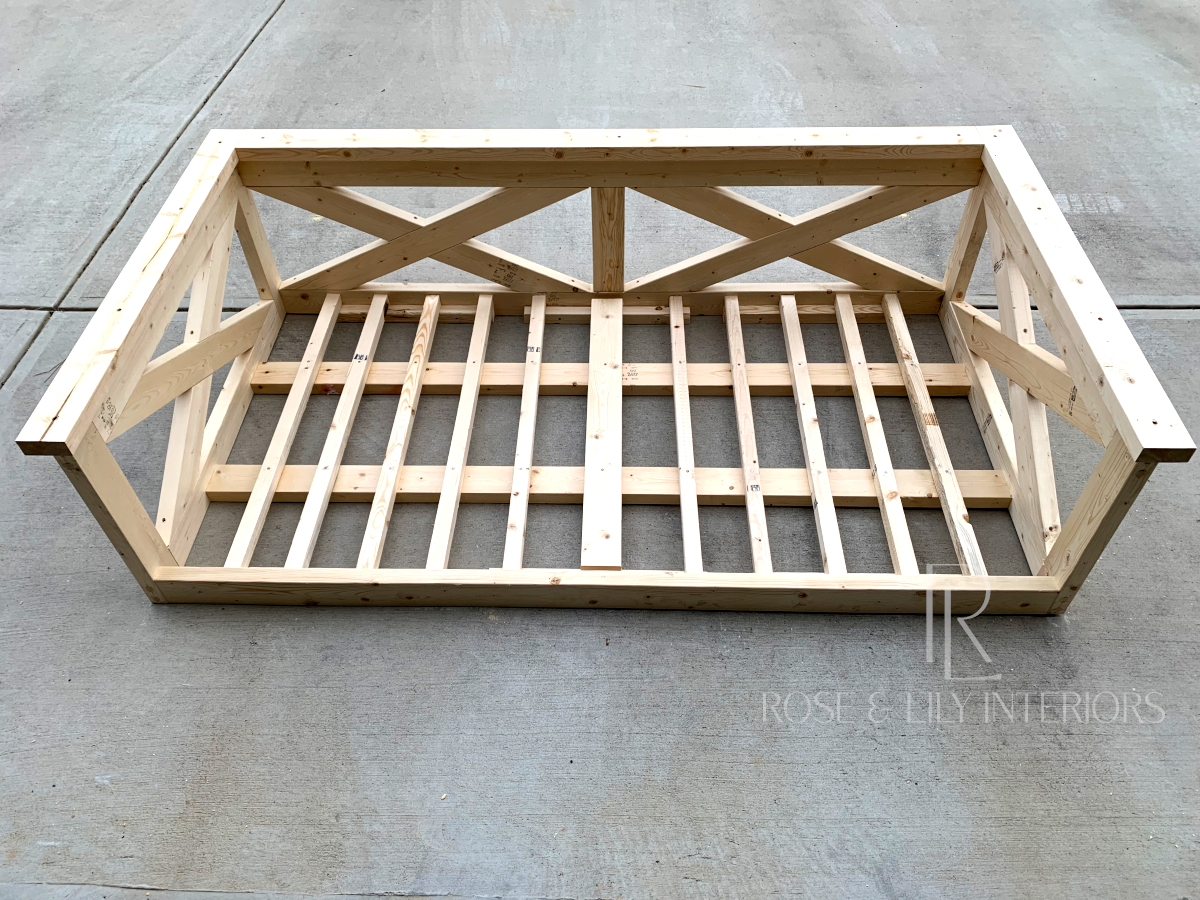
This blog post is part 2 of 2 to show how I built this great swing bed. For part 1, go here to see all the details for how I constructed the swing bed. This week, I’ll talk about how I finished it up and hung it.
Sanding
The next major step was to sand the entire swing bed to a smooth finish. I used a sheet sander to make help this stage move along quicker. These sanders are great because they use regular sandpaper cut into quarters instead of special sized sheets which saves money. First, I went over the entire bed frame with a 100 grit sandpaper to smooth out the major rough spots and imperfections. Then, I switched over to 220 grit and went over the bed again to give it a fine finish. Now the bed was ready to paint.
Painting

Now it was time to paint the bed. Any bare wood should be primed first to seal the wood and ensure the paint goes on evenly. If you try to paint the wood without using a primer first, even if the paint has primer in it, it will look uneven in places and will require more coats. It is just better to use primer first. Our final paint color will be black so I used a good quality exterior primer that was tinted gray. Rose helped me with the primer coat and it went quickly.

Once the primer was dry, we applied the final paint color. I went to Sherwin Williams to find the best paint to use for furniture that will resist wear and marking up. The experts over there recommended their Duration line. We chose the eggshell finish once again so that it still be relatively flat but still easy to clean. The color we chose was called Black Magic. Painting was pretty straight forward and it went on easy. Rose helped me with the first coat and our oldest daughter helped with the second coat.
Hanging
Now that the bed was all finished, it was time to hang it. This is arguably the most critical step. If you don’t hang it properly, it won’t look right or it will fall causing damage or injury. I will be honest, I was pretty nervous about making sure I got this right. I had the advantage of watching our house get built and taking pictures during construction. Therefore I already knew what size joists were in the ceiling and which direction they ran. If you don’t have this information and are not experienced in this area, I strongly recommend you hire this out to a professional.
This swing bed would be hung by four 3/8″ x 4 7/8″ eye screws in the ceiling attached to four matching eye screws on the top of the swing bed using 1″ manila rope. The first thing I did was place the swing bed into its final position in the room resting on top of 5-gallon paint buckets in the four corners. These paint buckets are just the right height. Next I used some thin boards between the paint buckets and swing bed to prop up the bed where necessary to make it level on all sides. Then I re-installed the eye screws on the swing bed using a screwdriver for leverage.
Installing Ceiling Eye Screws
The next part was to mark the general location of each eye screw in the ceiling and line it up with a joist. First I measured the distance to each eye screw from the back wall and side walls. I then marked those same measurements onto the ceiling. This helped determine where each eye screw should generally be installed in the ceiling. The next step was to locate the joists in the ceiling. I knew they ran from the house out towards the sliding glass doors based on our construction pictures. I used magnets to find the nails holding the ceiling board in place. Once I found at least two nails in a line in the general area, I marked where the eye screw should go on the joist line. For good measure I confirmed the joist position with a stud finder. I felt better have two forms of joist location methods since this was so critical. Next, I evaluated the positions of the eye screws in relation to the the swing bed. It would be very rare that a swing bed would line up perfectly with the joists unless it was built to the same dimensions to match the joists. For this installation, the eye screws were landing about six inches wider on each of the short sides of the swing bed. Rose and I decided that while not ideal, this was within limits and good to proceed. If the eye screw positioning was not within limits, the alternative is to hang support brackets across the joists allowing the eye screws to be installed in any position along the bracket. Rose didn’t want the look of the brackets which helped make the decision to use the eye screws directly in the ceiling.
Now that I had the eye screw locations marked on the ceiling, it was time to install the eye screws. I first tested each eye screw location by drilling a hole through the mark with the smallest drill bit I had. This way I would know if I hit the joist or not, and if I didn’t it would only be a tiny hole in the ceiling. All four of my test holes were successful! Next, I drilled pilot holes into each test hole using a 1/8″ drill bit going into the joists about 3″. Finally, I screwed in the eye screws by hand inserting a screw driver through the hole to give some extra leverage. I tightened down the eye screws until the threads were no longer showing.
Attaching Rope

The next step was to attach the rope between each of the swing bed eye screws and their corresponding eye screws on the ceiling. First I tied a midshipman’s hitch knot to a ceiling eye screw without cutting the rope. This knot is ideal because it is strong yet adjustable, and it looks nice too! Next, I tested the strength of the eye screw installation by hanging on the rope with all of my weight. This may seem a little silly for an adult to do, but it is a great way to ensure the installation is secure without much risk of injury or damage. Next I took the rope down to the eye screw directly below and cut it about 18 inches longer than the length required. Then I attached the rope to the eye screw using a standard double knot while ensuring the rope was as taut as possible. I repeated this process for the other three corners.
Now the bed was officially hung, but it wasn’t quite complete. The next step was testing and adjusting. The swing needs to be level on all sides for it to look and feel right and tying ropes is not an exact process. Also, these manila ropes stretch a bit once some weight is added. First, I removed each of the paint buckets and leveling boards from each corner. This left the swing bearing all of its weight on the ropes and eye screws. Next I sat on the bed to add some weight and stretch the ropes out. I even invited my oldest daughter to help out and we slowly added our weight to it. It didn’t fall so that means I installed it pretty well, whew! Then I tested for level on all sides and I definitely needed to make some adjustments. On a couple of the corners, I adjusted the top knot to get the right length. But on the other corners, I needed to retie the lower knots. I don’t think it is possible to ever get it perfectly level, but I definitely got it very close and within limits.
The very last step was to add a twin mattress, a sheet or blanket and some backrest cushions. That completes the swing bed! It is ready for use and enjoyment. Like I said before, this is our family’s favorite spot. This swing bed was not too difficult or time consuming to build. I hope you fine these posts useful and help you make your own swing bed. Our family highly recommends it!
#roseandlilyinteriors #faithfilledinteriors #diydesign #homedecor #roseandlilysunroom #diydecor #interiordesign #porch #diyproject #diyprojects #inspiration #homeinspo #houseinspo #christian #christianlifestyle #simpleliving #christianwoman #indianchristian #forhisglory #bornagainchristian #faith #believe #atlanta #swingbed #sunroom


