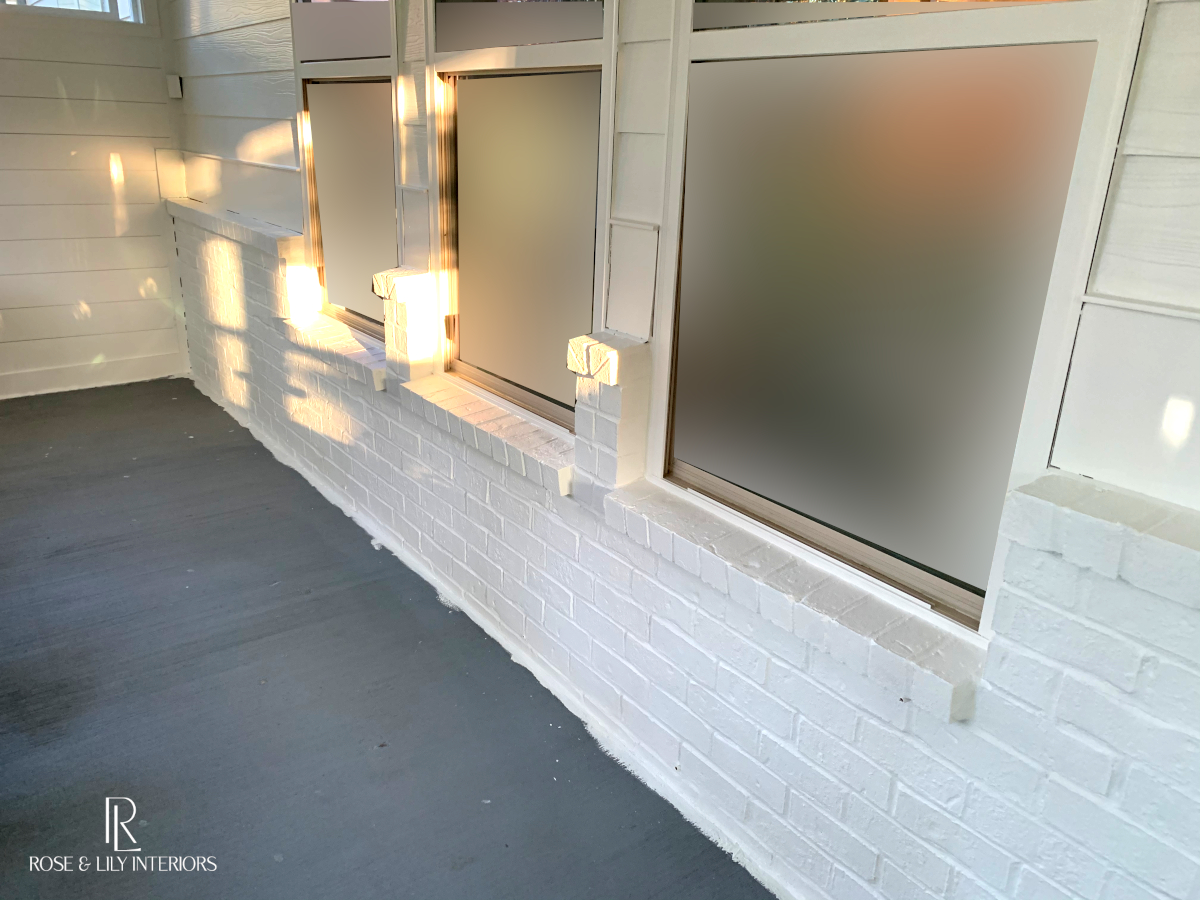
In week 10 of our Sunroom project, our task was to paint the brick and repurpose an old toy chest for the space. We had not originally planned on painting the brick, but after we painted the rest of the room white, the light colored brick all of the sudden looked much darker and browner. It just had to go! If you’re just tuning in, be sure to read the previous posts for this project starting here.
Paint the Brick

Yes, this week we were supposed to be working on putting in the new floor, but addressing the brick became top priority. We didn’t want to paint the brick AFTER putting in the new floor so we decided to put the floor off a week. I think this is a good thing overall too because it gives us a little more time to choose the right flooring.
Now I had to move quickly to get this brick painted and I honestly didn’t know what to use. Even though this wasn’t an exterior brick application, I didn’t want to risk using regular latex paint on it leaving me with a potential headache down the road.
So I went over to my local Sherwin-Williams shop to get their advice. They recommended using their LOXON XP Waterproofing Masonry Coating. It is designed for brick and other masonry and it is tintable to our exact color needs. We really just wanted the brick to blend in with the rest of the walls, so this seemed like the best option. It was only a little more expensive than latex paint so it was easy on the budget too.
I was ready to paint in pretty short order. Once I got started I realized this LOXON stuff was super thick. It was surprisingly easy to work with though. I just loaded it on with a wide paint brush and brushed it in like regular paint. The great part about this portion of the painting was that it was all four feet and lower on the wall. I was able to sit in a chair the whole time which was an easy bit of work for once. Another bit of great news was that this coating only needed one coat which helped make the job quicker too.
Once I finished painting the brick, we knew we made the right choice. It was blending in with the rest of the walls just like we wanted. I also caulked the seams between the brick and walls because the black gaps really jumped out now. The caulking isn’t shown in these pictures but you can see the gaps I am talking about. It looks much better after the caulking.
Repurpose an Old Toy Chest
Since I knocked out the brick painting pretty quickly and we had a bit more time before I needed to start on the flooring, we decided to work on repurposing an old wooden toy chest we had. We had already relegated this chest to the outdoor porch area to store outdoor play toys for the kids. It was in pretty good shape though. It was from Ikea actually and surprisingly it was solid wood and pretty nice overall. We had discovered that this toy chest fit perfectly in the little nook under the new narrow window. So we thought we could turn this old toy chest into a nice seat for that nook. It just needed a face lift.
This was also a pretty simple job, even though it was a bit time consuming. I decided it would be better to deconstruct this chest some before painting. So I took off the side handles and the lid, but left the rest in place. Next I sanded all surfaces with high-grit sandpaper to roughen up the existing finish. Then I put on a coat of primer on all surfaces to ensure the new color paint would adhere well. Next, I put on two coats of the same Alabaster color using Harmony by Sherwin-Williams in egg-shell. Finally, I quickly put the side handles and lid back on the chest and it was ready to go. All this took a couple of days just to make sure all the various coats were dry in-between. The end result is a nice little chest that looks better than new!
Well that wraps up this week. We got some good work in even if the overall progress doesn’t seem like much. We will definitely be working on the floor next week though so be sure to check back to see how it turns out!
#roseandlilyinteriors #faithfilledinteriors #diydesign #homedecor #roseandlilysunroom #diydecor #interiordesign #porch #diyproject #diyprojects #inspiration #homeinspo #houseinspo #christian #indianchristian #forhisglory #jesus #bornagainchristian #faith #believe


DIY Sunroom: Final Reveal - Rose & Lily Interiors
March 20, 2021 @ 2:24 pm
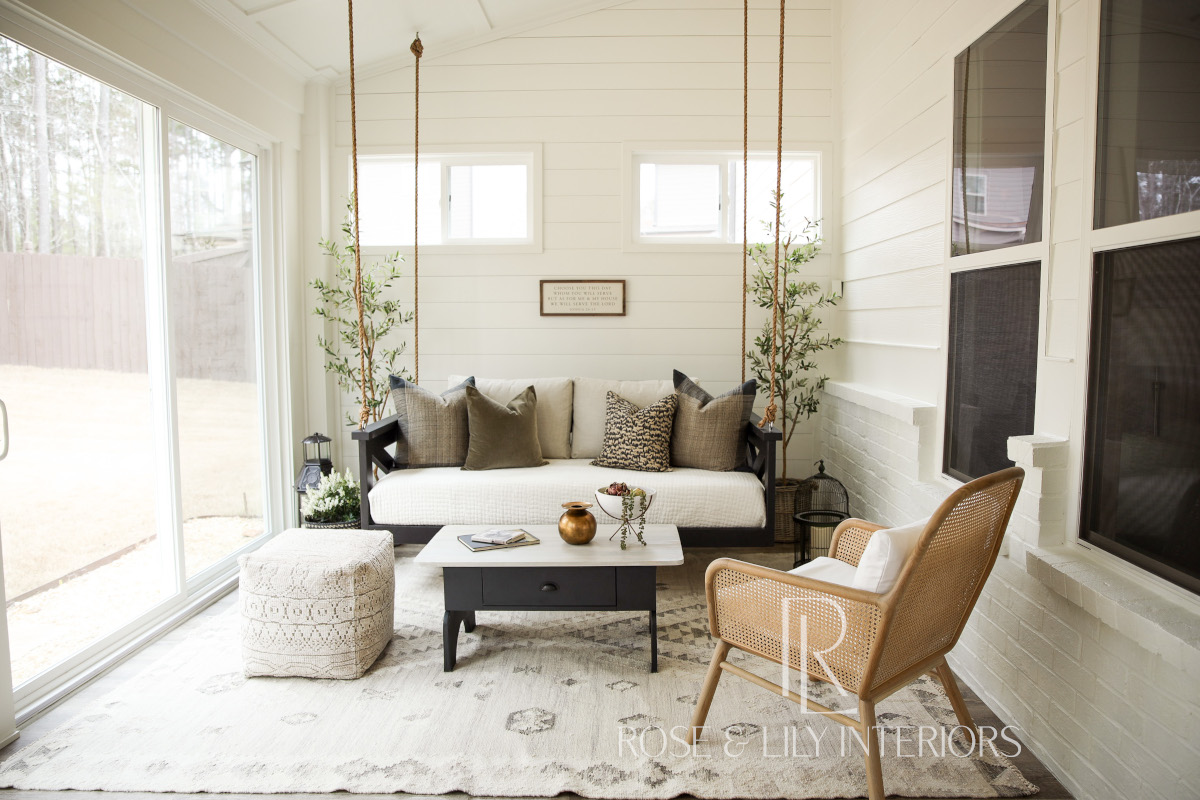
[…] for a little reading! The seating consists of a couple of black chairs with rattan backs and the repurposed toy chest in the nook under the window. Rose always likes to mix the old with the new and she did that here […]