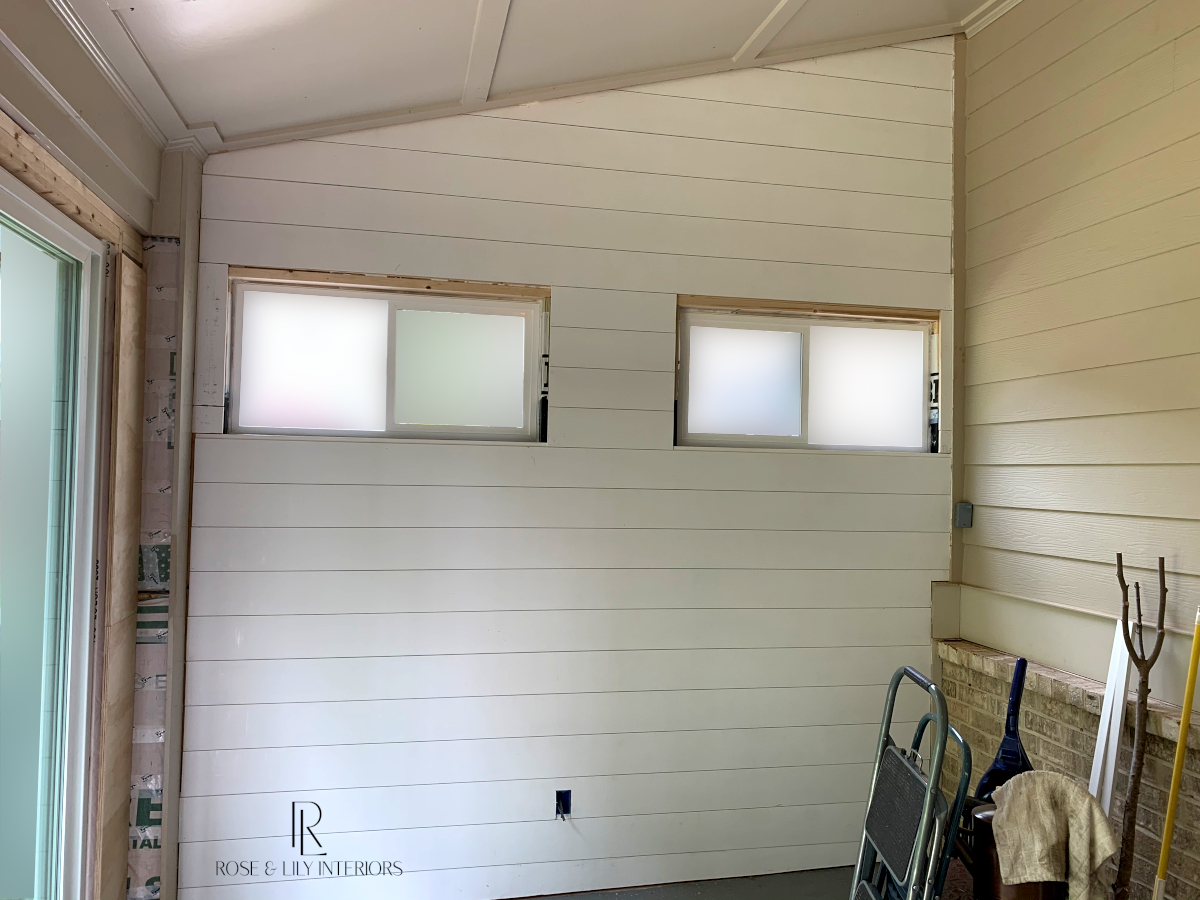
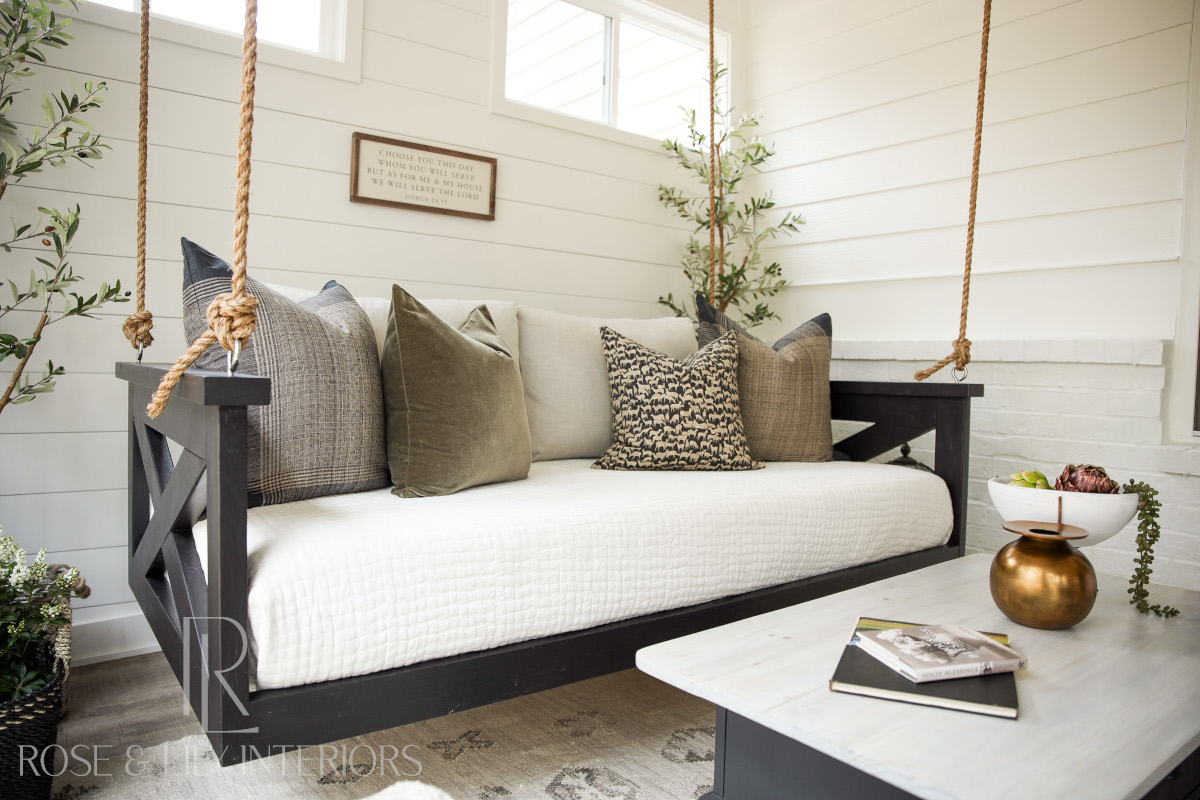
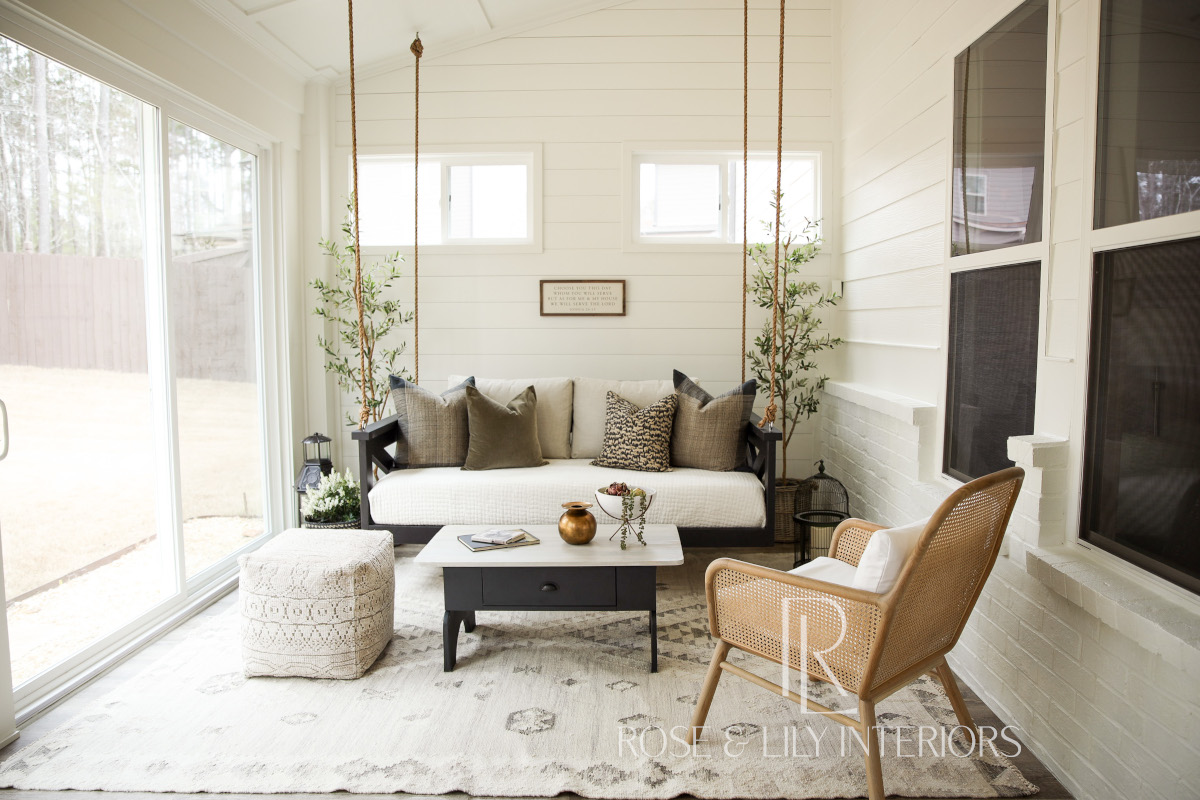
In week 6 of our Sunroom project, we added insulation and walls to the interior. We really like the shiplap look on the end wall and think it was a great choice. The room is starting to come together! If you’re just tuning in, be sure to read the previous posts for this project starting here.
Spray Foam
The first step of insulating the interior was to spray minimally expanding foam in the gaps around all the windows and doors. This keeps air and water out which will help the room feel comfortable like an indoor space. This foam expands just enough to fill the gaps without getting all over the place. This particular foam is also easy to clean up when it does go where you don’t want it to. I also sprayed the seams and edges of the sheathing where it met the framing. The manufacturer recommends wiping the excess while wet and not waiting for it to dry before cutting off the excess.
Insulation

The next step to insulating the interior was to add fiberglass insulation between all the studs. This will keep the room temperature stable in the sunroom. I just cut the pieces to size with a razor knife, put them in place, and stapled them to the surrounding studs.
I chose this brand of insulation because it was both economical and environmentally friendly. However, I figured out that when the manufacturer indicated they use recycled material, they meant insulation reclaimed from other houses. Some of this insulation had a distinct smoky smell and was discolored in areas like it had been exposed to a fire. It was definitely still useable however and the smell was not noticeable when I wasn’t working directly with it. Overall I still think it was a good choice and it will do the job.
Interior Walls

The final step for this week was to add the wall coverings for the interior. For the narrow right side wall and center wall, we again used cabinet grade plywood. This material has a fine, smooth finish for nice polished look. We decided against using drywall in the sunroom due to the risk of humidity. While we are taking every measure to ensure this room is sealed in like the rest of the house, it will not be centrally heated or cooled. This means humidity could build up in the sunroom which could cause issues with drywall over time. Also, I just don’t like working with drywall!
Just like the outside there were some tricky cuts around the brick and also due to the sloped floor. Once the pieces were cut to size, we nailed them up with the nail gun. We cut the pieces and placed the nails in such a way that they would be covered up by future trim whenever possible. We were also sure to leave a small gap between the wood and the concrete floor, but this time it was to allow for flooring later on. You may notice that we did not paint these interior wall boards with primer before nailing them up. Since they will not be exposed to the exterior elements, that is not necessary. We will be priming the visible surfaces before painting them however.
Shiplap
On the left side wall, we contemplated a long time on what material we should use there. We previewed and tested a few materials, but ultimately we decided to go with shiplap boards. These boards overlap each other similar to siding except they lay completely flat after installation. When installed, there is a nickel-width gap between each board which gives it that unique look. An advantage of these particular boards is that they were pre-primed which will save time later.
There is a short thin piece on the top of the shiplap board called a rabbet that goes under a similar rabbet in reverse on the bottom of the board above it. The two boards then fit together snugly to provide a tight connection. Another advantage of using shiplap is that there are no nail holes showing that have to be patched after installation. That is because they are nailed in place through the top rabbet which is subsequently covered by the board above it.
Shiplap Installation
Installation of the shiplap boards is pretty easy. We just cut the boards to the correct length starting at the bottom and nailed them in place with a brad nailer. We continued this process up the wall making adjustments around the windows.
The one important thing to remember is that these boards need to be level or else everyone will instantly see that something is off. The key is to make sure the first board is perfectly level. Most of the boards will automatically be level after that unless you have a funky board or two in the pile. We just quickly checked each board was level before nailing in place and made micro adjustments when necessary.
For this room, the bottom piece was the most difficult due to the sloped floor. We had to cut the entire length of the board to match the slope of the floor. Since there would eventually be some floor moulding covering the gap, it did not need to be perfect. Therefore, we didn’t need to use the scribing method we utilized in week 3. Instead we just measured the height between the floor and a leveled board at several points, then transcribed them onto the shiplap board. Then we drew a straight line intersecting all the points and cut along the line. We then put the board in place, adjusting to level and leaving a consistent gap the entire length to the floor, and nailed in place.
At the top, the ceiling slants down away from the house, so I needed to cut the shiplap boards at the same angle and correct length on the left. Since there will be a piece of ceiling trim, the cuts did not need to be perfect, just close. To get the correct angle and length for each board, I measured the length from the right wall to the ceiling at the top and bottom of the board position. Then transcribed those lengths to the shiplap board, drew a straight line between the points and cut along the line. That finished up the shiplap wall nicely.
Wrap-Up
Adding walls to the interior makes it feel like a proper room now. We accomplished a lot this week and couldn’t be more pleased with the result. Next we will be tackling the interior trim work and caulking. Be sure to check back in next week to see the results!
#roseandlilyinteriors #faithfilledinteriors #diydesign #homedecor #roseandlilysunroom #diydecor #interiordesign #porch #diyproject #diyprojects #inspiration #homeinspo #houseinspo


