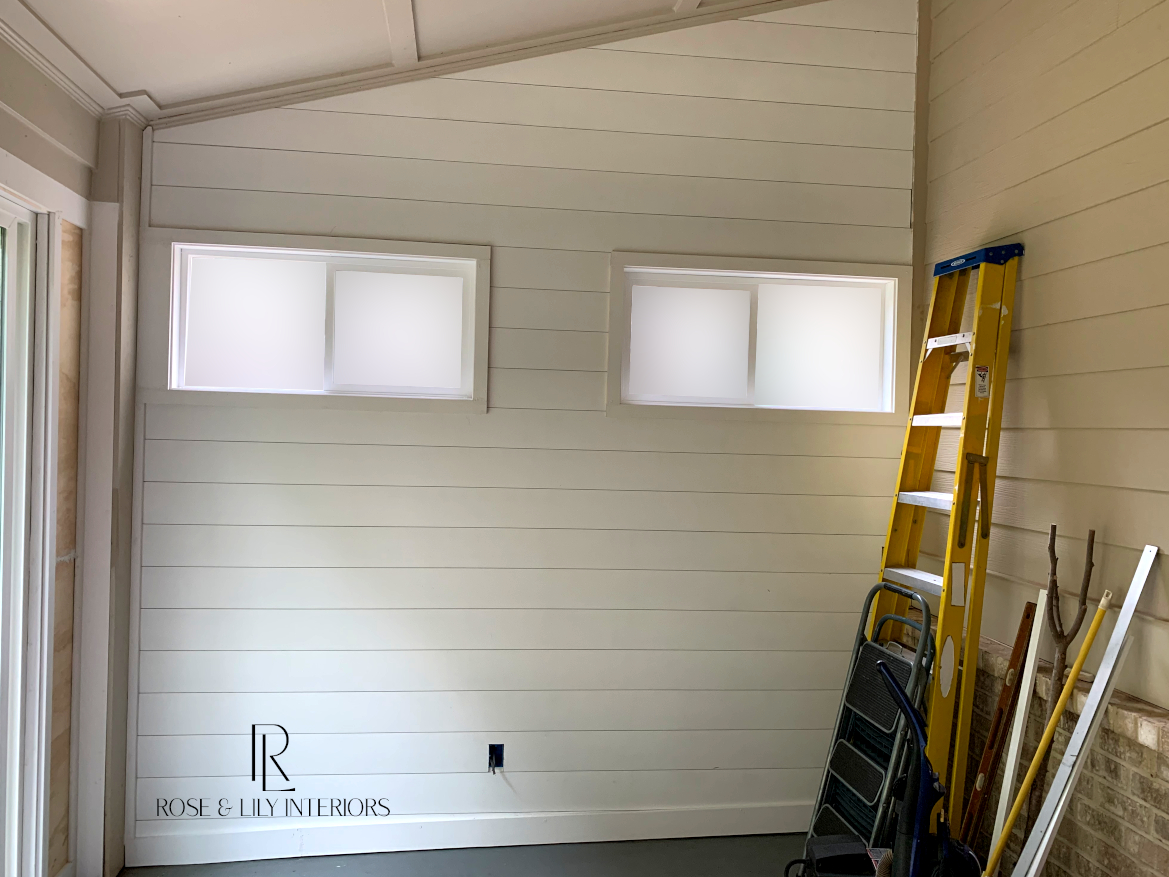
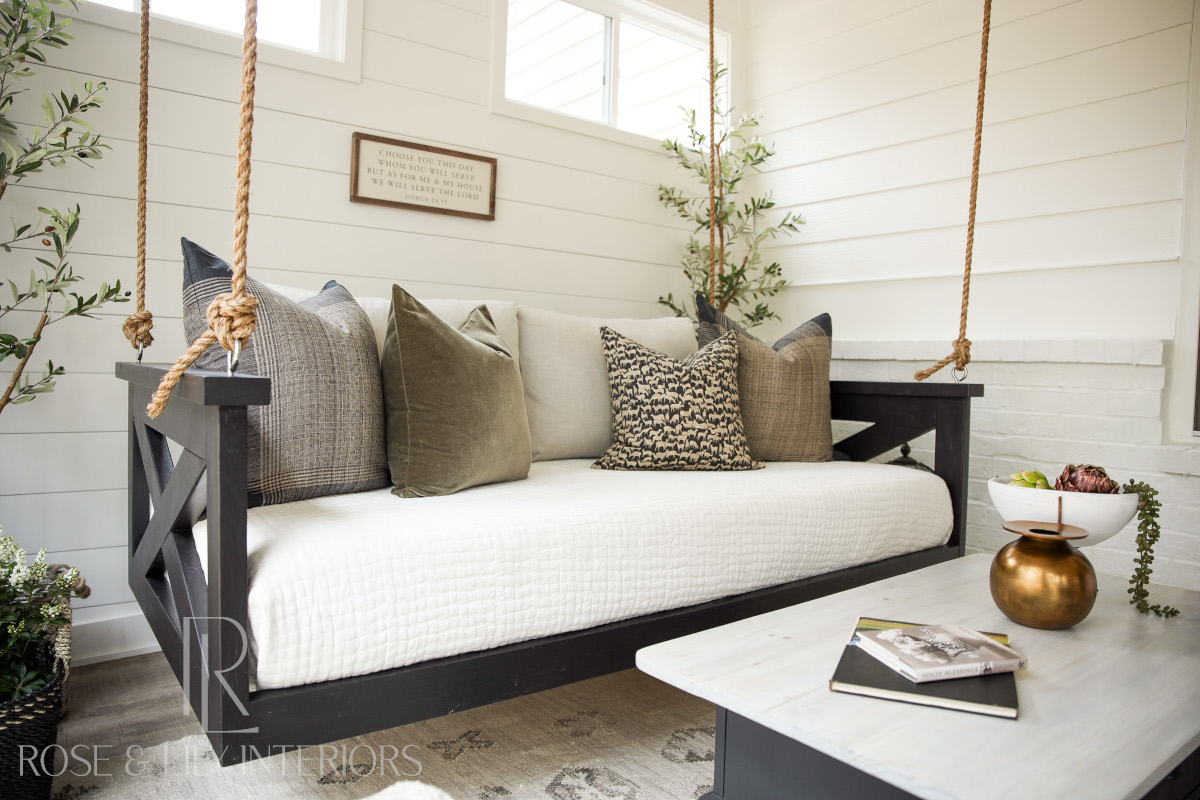
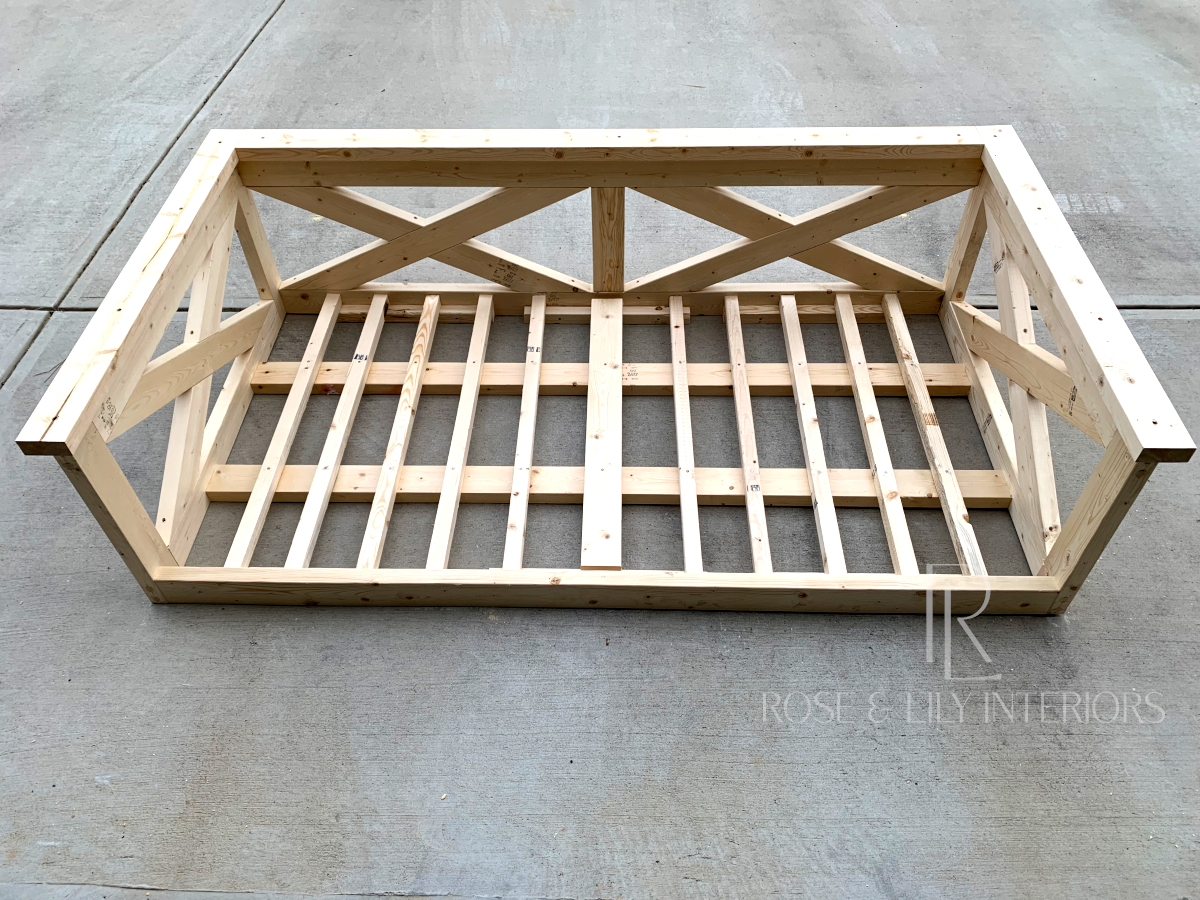
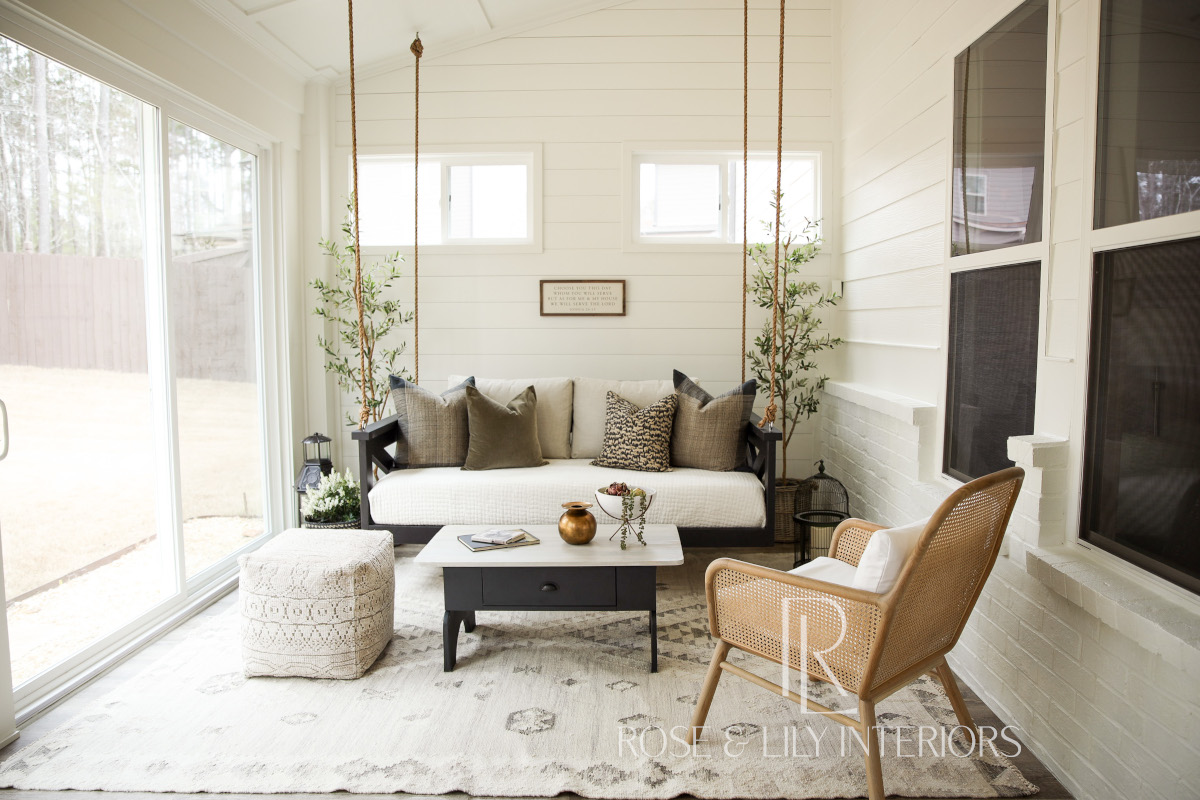
In week 7 of our Sunroom project, we added the interior trim. That really helps make the room look more finished and we are liking the look! If you’re just tuning in, be sure to read the previous posts for this project starting here.
Interior Trim

To add all the various trim pieces to the interior of the sunroom, we used primed trim boards whenever possible. The trim is very important as it covers all the gaps and imperfections remaining in the room. There were a few places where the required trim was too wide for a trim board and we reverted back to some cabinet grade plywood.
Window and Door Casings
First we added the top casing pieces to all the windows and doors. The casing are the wood pieces that sit perpendicularly to the window or door and cover up the rest of the framing before the wall surface. We had to measure the casing pieces for both width and length, cut them to size and nail them in place with a brad nailer. Next we added the side casing pieces to all the windows and doors using the same process. Then we added the sill pieces for the windows. This order of assembly ensures the top casing is supported on the ends by the side casings.
Window and Door Trim
After the casings and sills were in place, we started working on the trim around the windows and doors. To give a nice uniform look, we ran long pieces over the doors for the entire length of the wall so that there were no gaps. We also ran trim pieces along the sides of the doors and right side windows the full height of the wall in the same manner. A nice looking touch we added for the trim around the windows and doors was to offset it from the casing about a quarter of an inch instead of it being perfectly flush.
On the left side of the right side window, we filled in the entire space with a trim piece so that there would not be any strange gaps left. This should be the last tricky cuts around that brick ledge! We then measured, cut and attached trim pieces under the windows, in the corners of the walls and along the floor. Just like the wall boards, we made sure to leave a small gap between the trim and the floor for the future flooring.
Wood Putty and Caulking
Once the casing and trim pieces were in place, we added wood putty to the gaps between butting trim pieces. We had a few places where we could not get a continuous board for the entire length or height required. Using wood putty in those situations help hide that and make it look like they are continuous pieces. We then used interior painter’s caulk to fill in all the seams between the trim, casing and walls.
And that’s the end of week 7! There wasn’t a whole lot to say about this week, but it was definitely a lot of work. Cutting all those casing and trim pieces to the right size is quite tedious. Then there are so were many seams to caulk as well. Anyway, I think it is turning out great. Next week, we will be painting the outside so be sure to check back then.
#roseandlilyinteriors #faithfilledinteriors #diydesign #homedecor #roseandlilysunroom #diydecor #interiordesign #porch #diyproject #diyprojects #inspiration #homeinspo #houseinspo


